After a successful purchase, you will receive two emails.
- The first one will let you know that the payment went through and will hold your receipt.
- The second email will contain the information necessary for accessing the dashboard. This panel will let you create your license key, download the plugin, and so much more.
Creating a Dashboard Account:
- Open the email you received (title: “Welcome aboard! Your WP Force SSL PRO account is ready”),
- Click on the “Password: set one up” link available in the email,
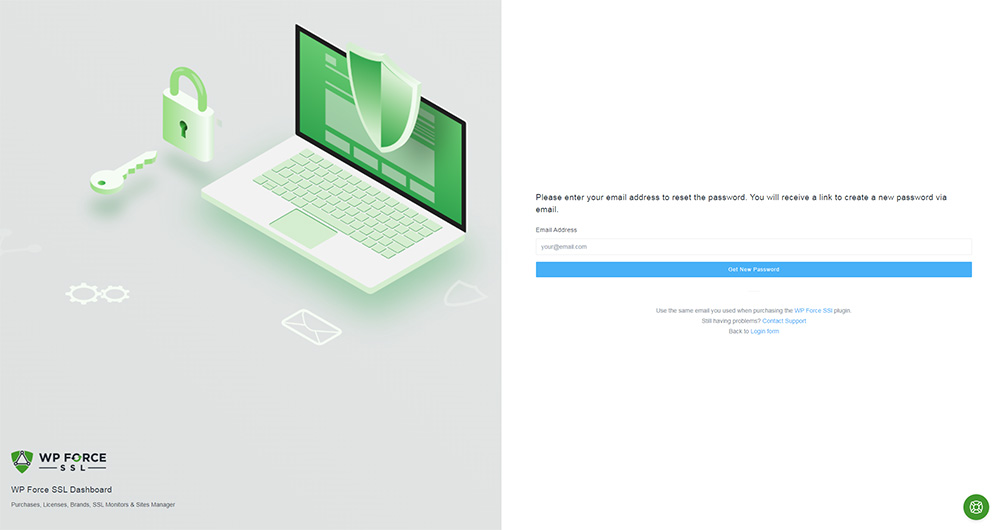
- In the new tab, the dashboard will appear – click on the “Get new password” button,
- Check your email again, and open the link you received,
- Enter the new password. Make sure it’s strong and unique.
Install & Activate the Plugin:
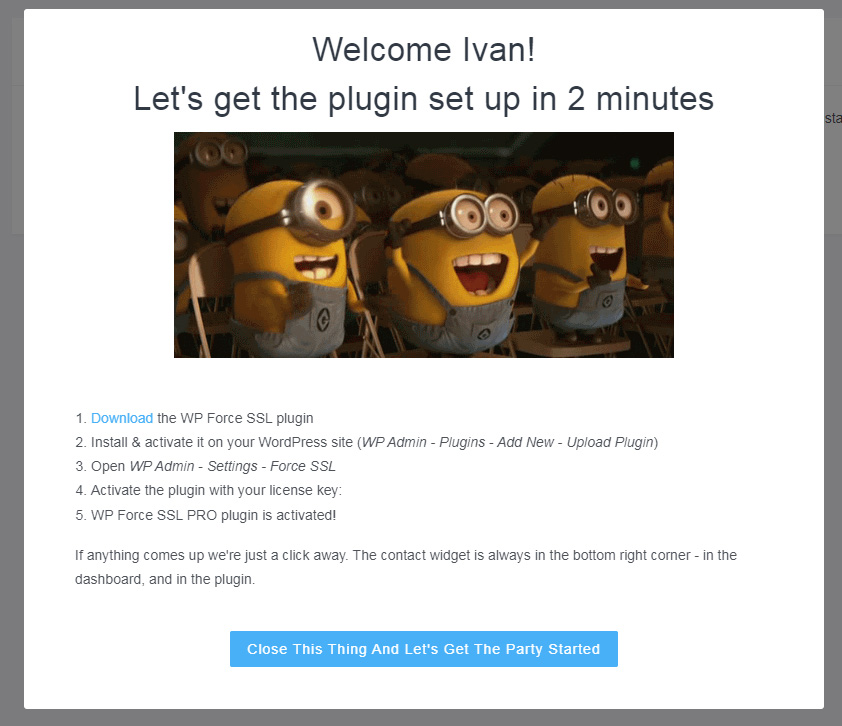
- Log in to your Dashboard,
- From the welcome popup window, click on the “Download” link,
- Save the ZIP file to your computer,
- Install & activate it on your WordPress site (WP Admin – Plugins – Add New – Upload Plugin),
- Open WP Admin – Settings – Force SSL,
- Activate the plugin with your license key that’s visible on the screen (format: 12345678-12345678-12345678).
That’s it. Both your dashboard and the plugin are ready, and you’re just a couple of steps away from stopping worrying about your SSL certificates and mixed content!