
Everyone looking to create an author box with the author image, you’ve come to the right place. We’ll show you two ways to do this. Gravatar is integrated with WordPress, so the first method is to use this integration and add the image.
This can help your company appear more human rather than like a faceless corporation. You can establish relationships with your clients and customers while fostering a welcoming culture. Avatars and images can be added to any site and benefit overall.
Typically, they appear at the top or bottom of the article, but if you’d prefer, you can place them in the sidebar, footer, or header. You only need a tad of PHP code to your WordPress template files or use a plugin – whichever you prefer.
How to Add an Author Image
![]()
Even if the user does not own or run the websites, Gravatar is a free system that links them to various WordPress websites.
For instance, while using the same gravatar image, a WordPress blogger on one site can also be a contributor on another. The user’s image will be shown thanks automatically to their email address if the user already has a Gravatar account and is enabled on your website.
However, if the author in question doesn’t already have a Gravatar account, they will need to create one.
To accomplish this, your users must access the profile manager in WordPress and select the “Gravatar” link. The photo is linked throughout the WordPress platform once the author registers their email address.
The chosen image will appear whenever that specific person uses that email on another WordPress site with Gravatar enabled. Additionally, users can use an alternative image linked to a different email account.
But there is a more straightforward way of doing this, where not every single site contributor will have to create a Gravatar account, and it’s by using a plugin. So, let us show you how to take the easy route.
Using Simple Author Box

Simple Author Box enables you to include an utterly responsive author box at the end of your posts. Although it is straightforward—as the name suggests—it nonetheless boasts a vast selection of customization options that are certain to meet even the highest standards.
Some author boxes you can find online are very ugly and frequently look out of place with the rest of the blog. With Simple Author Box, this will cease to be a problem as the customization options are virtually endless. In addition, you’ll also be glad to know they’ll be completely responsive.
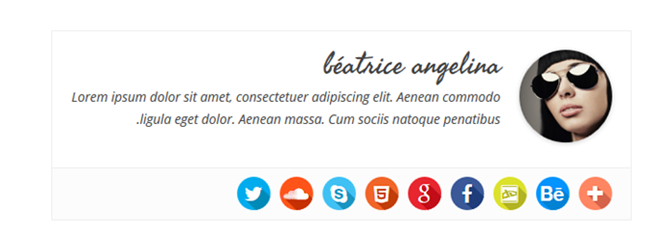
When correctly set up, the author box will include data about the author, such as a profile, image, social media icons, a bio, etc. This plugin enhances WordPress’s default author options and its fundamental functions by enabling the user to add guest writers or co-authors to a post without requiring them to register for an account.
Creating an Author Box
Once the plugin has been installed and activated, a preview of the author box will be displayed on your site when you first launch the editor.
It is plain and simple now, but after you set everything up, it will blend in with your site’s overall design. To edit the profile and add social icons, you’ll need to select the menu button on the far right of the page. So let us briefly show you how to alter the default design of the author box.
Customization
All you have to do is add an image for the author under “Users,” From there, you can further customize the box’s appearance. You can use the uploaded photos with Gravatar, so that’s half the job done.
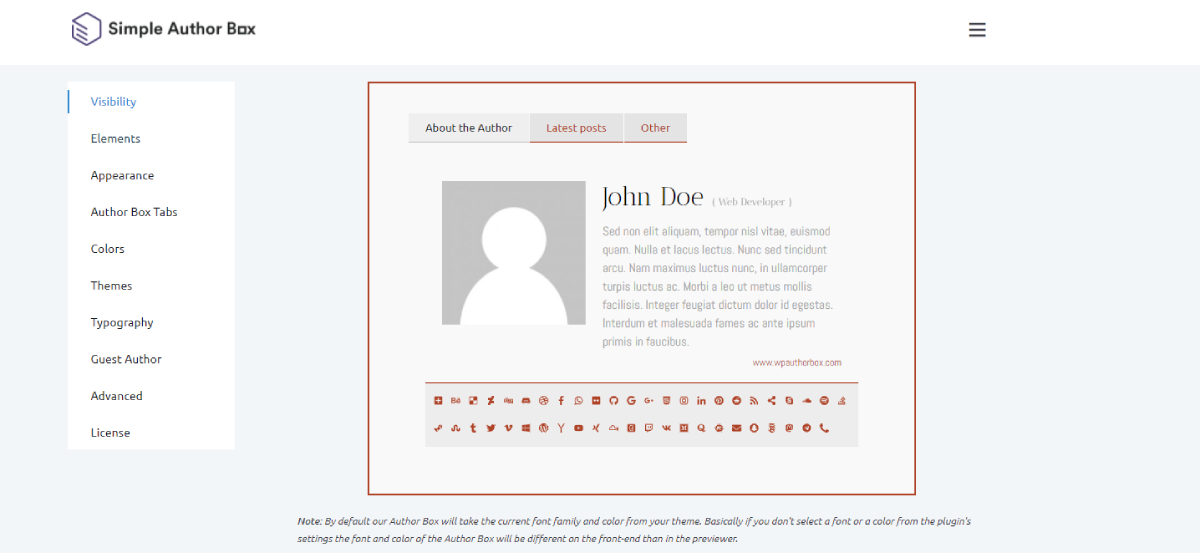
There are eight total tabs you can go through to customize your author box, but we’ll focus on the two most relevant to the issue at hand: visibility and elements.
Visibility
Here, your customization options are mostly confined to whether you want the author box to come up automatically, be hidden if there is no bio, hide it on archives, or choose to only appear on specific taxonomies. Custom bios can also be disabled and placed before or after the content as an additional option.
Elements
Only three changes can be made on this simple tab. The author’s email can be displayed, social media can be opened in another tab, and the social symbols can be hidden, among other possibilities.
They are all connected to the author’s social media accounts and contact information, making them all manageable—a feature many plugins of a similar nature lack.
There is so much more you can do with this plugin, but they are not crucial for this tutorial, so we’ll let you discover the details on your own.
