WordPress is one of the most popular content management systems (CMS) used for building websites. With its user-friendly interface and a plethora of features, it has become the go-to platform for bloggers, businesses, and developers alike. However, managing a WordPress site can sometimes be overwhelming, especially when you need to configure domain name system (DNS) settings.
DNS is an essential component of any website as it translates human-readable domain names like www.example.com into machine-readable IP addresses that computers use to locate web servers. In this article, we’ll explore where DNS configuration can be found on WordPress and provide step-by-step instructions on how to modify these settings.
What is DNS Configuration?
DNS Configuration is the process of setting up the Domain Name System (DNS) for a domain name. DNS is an essential component of the internet that translates human-readable domain names into IP addresses, which computers use to identify each other on the network. DNS Configuration involves configuring a set of records within your domain’s DNS zone file, including A, CNAME, MX, TXT records.
In WordPress, you can access your DNS configuration by logging in to your hosting account and navigating to the cPanel or control panel. From there, you can access the Zone Editor or DNS Manager section where you can create and modify various types of records for your domain name. If you’re unsure how to configure your DNS settings correctly, it’s recommended that you seek assistance from a professional from a professional IT Specialist or hire a remote developer who has experience with managing website domains.
Overall, properly configuring your DNS settings is crucial for ensuring that visitors can find and access your website reliably and efficiently. By taking the time to understand and configure your DNS settings correctly, you’ll be well on your way towards establishing a strong online presence for yourself or your business!
 Understanding WordPress and DNS
DNS (Domain Name System) is an essential component of the internet that translates human-readable domain names into IP addresses. In WordPress, DNS configuration is located in the domain registrar’s account dashboard. It enables users to link their domain name to a website hosted on the WordPress platform.
To access the DNS settings, users need to log in to their domain registrar account and navigate to the domain management section. From there, they can choose to edit or update their DNS records by adding new entries such as CNAMEs or A records. Users should be cautious when making any changes as incorrect DNS configurations can result in website downtime or errors.
It’s worth noting that some web hosting providers offer managed WordPress services that handle all aspects of DNS configuration for their customers, including automatic configuration of a CNAME record pointing to the user’s WordPress site. However, if users prefer more control over their DNS settings, they can opt for self-managed WordPress hosting solutions which require manually configuring the DNS entries themselves.
Locating the DNS Configuration in WordPress
The DNS (Domain Name System) Configuration in WordPress is an essential aspect of website management as it ensures that the domain name is correctly mapped to the website’s IP address. In most cases, the DNS configuration is handled by your web hosting provider, and you may not need to access it directly. However, there may be situations when you need to modify or update your DNS settings manually.
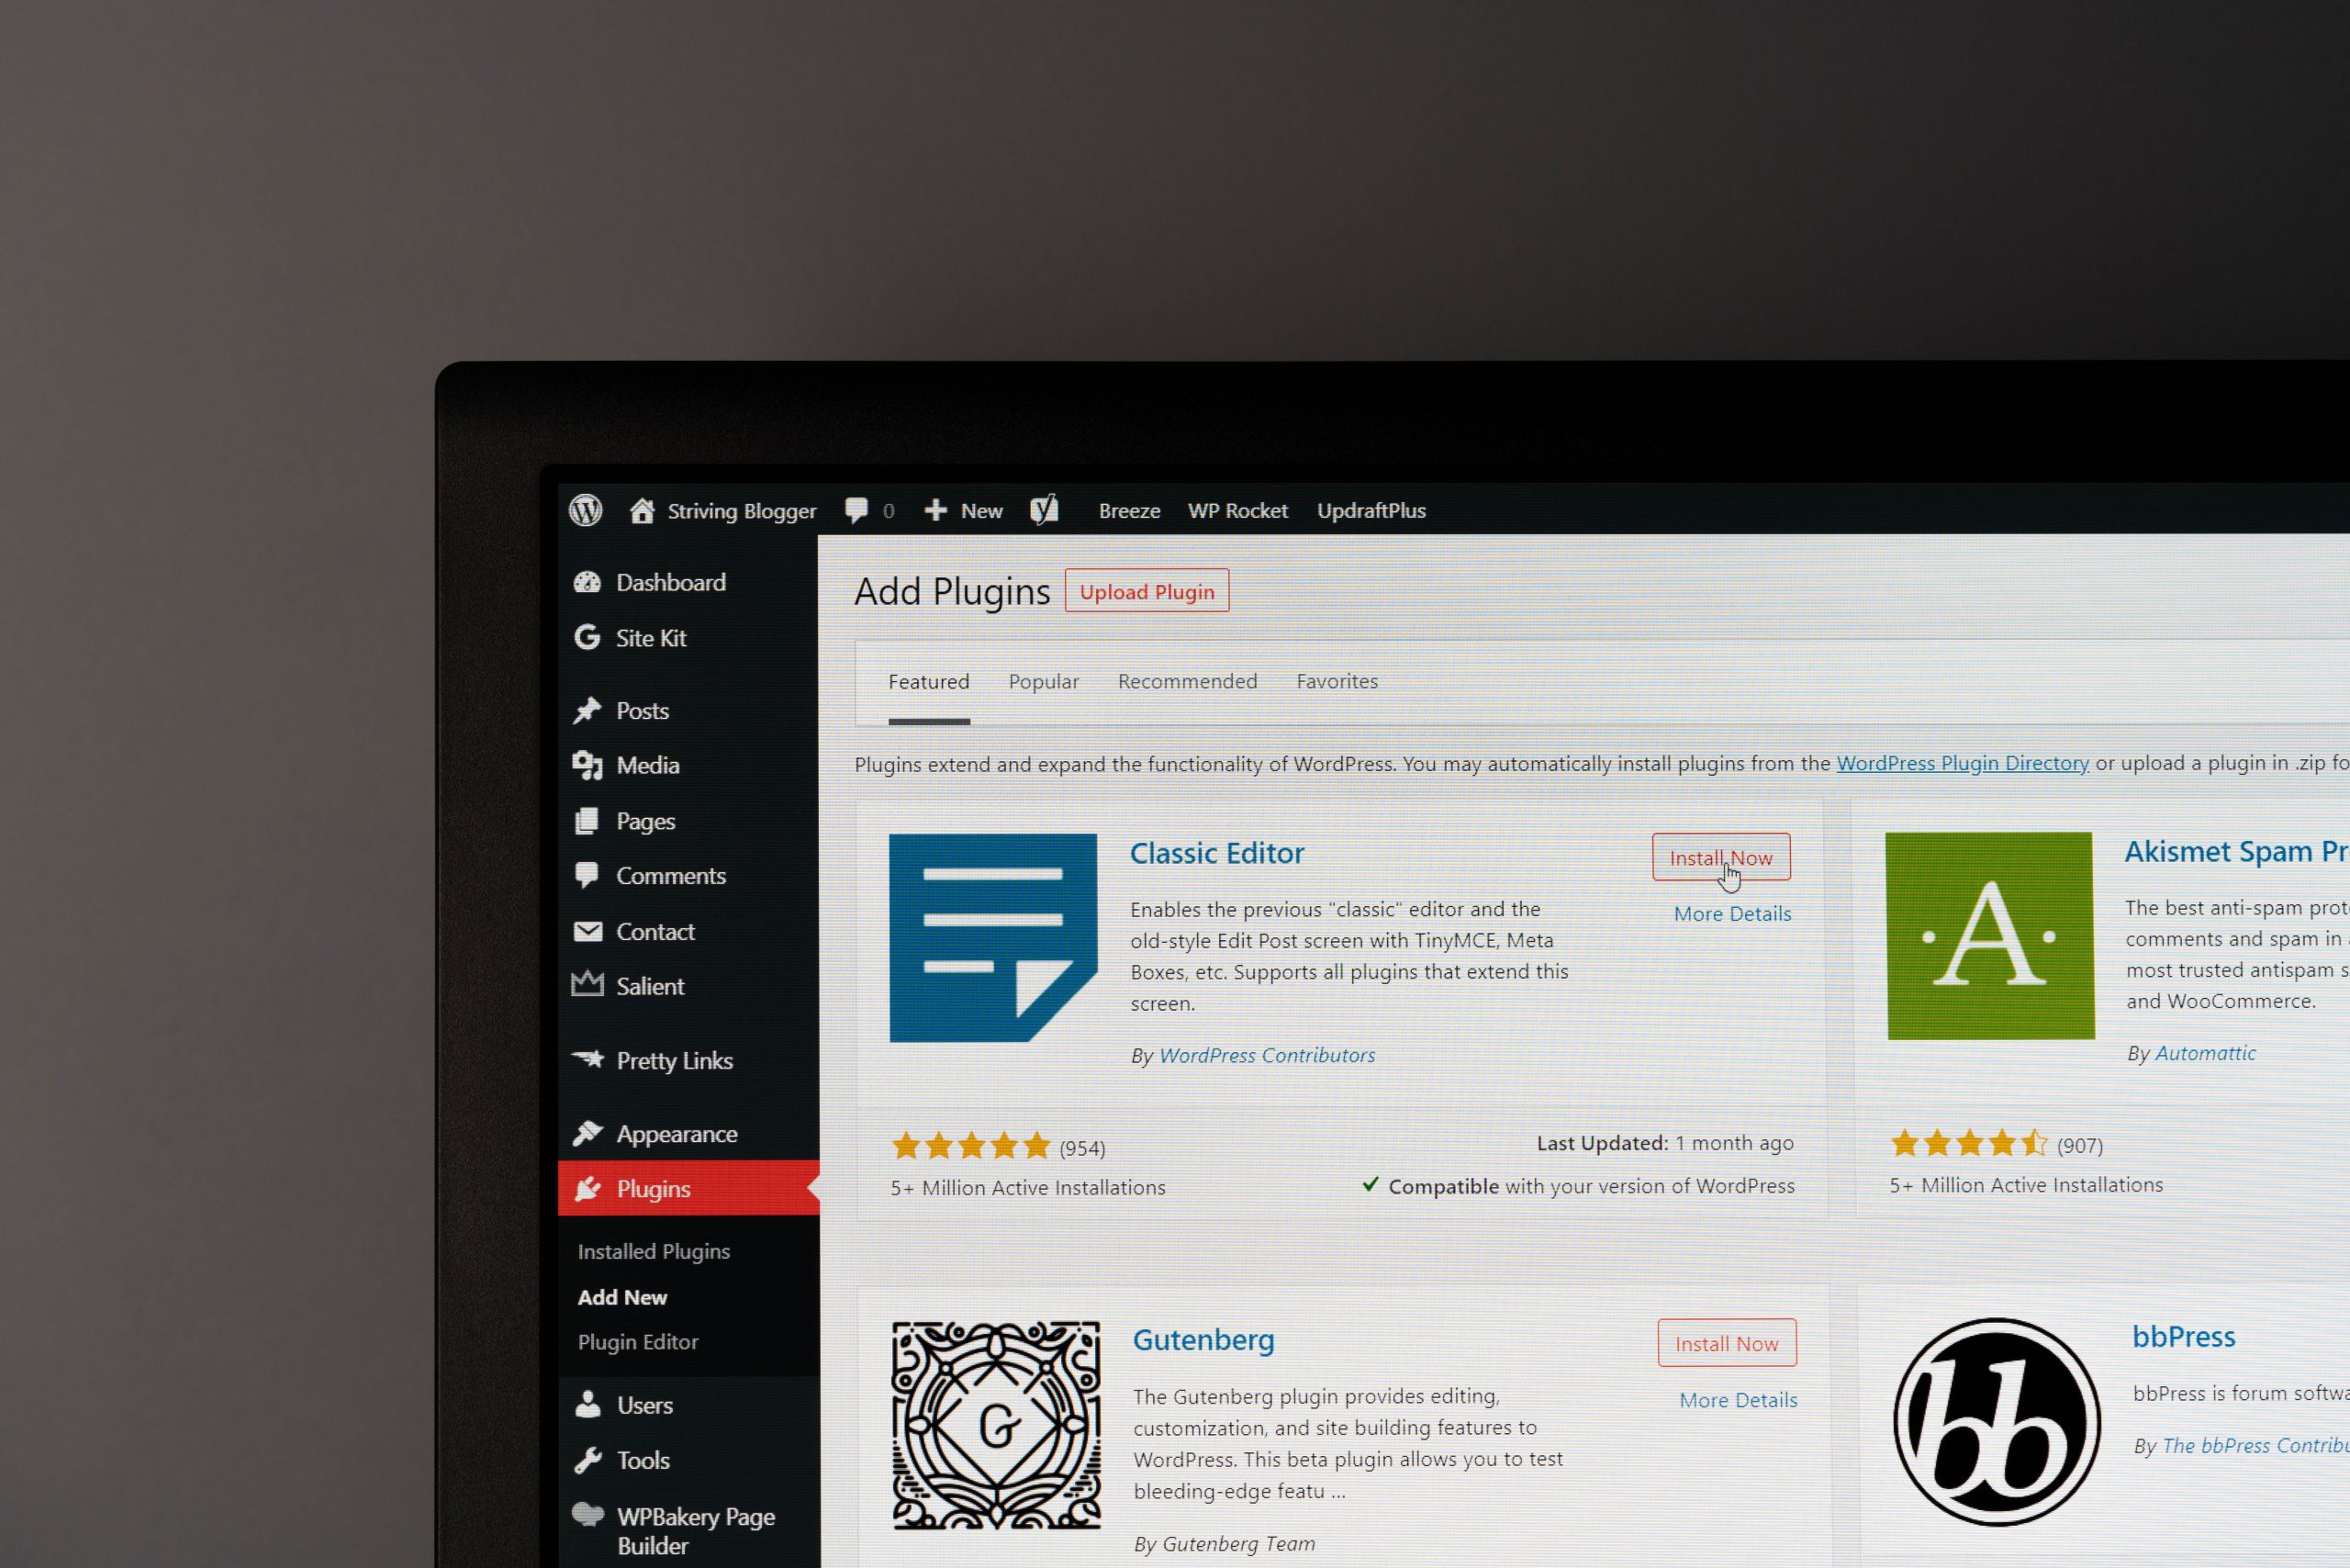
To locate the DNS Configuration in WordPress, you need to log in to your hosting account cPanel or control panel. Once logged in, look for the section labeled “Domains” or “DNS Management.” Within this section, click on “Advanced DNS Zone Editor” or “DNS Zone Editor,” depending on your hosting provider. Here you can view and modify all of your domain’s DNS records such as A record, CNAME record, MX record etc.
In conclusion, locating the DNS Configuration in WordPress requires accessing your web host’s control panel and navigating through domains or DNS management settings. These steps vary slightly depending on different web hosts but are generally easy to find with a little bit of exploration within your hosting account dashboard.
 Editing the DNS Configuration in WordPress
The DNS Configuration in WordPress can be accessed through the domain registrar or hosting provider. The domain registrar is where the domain name was purchased, while the hosting provider is where the website is hosted.
Once logged in to the account, look for a section that contains DNS settings or Zone Editor. There, you will find records such as A Records, CNAME Records, and MX Records that you can edit.
Editing these records may affect your website’s accessibility and functionality, so it’s important to make sure you know what changes you’re making before proceeding. It’s also recommended to take note of the original settings in case you need to revert them back later on.
Common Issues with DNS Configuration on WordPress
- Incorrect DNS settings: One of the most common issues with DNS configuration is incorrect settings. This can cause your website to not load or display an error message.
- Propagation time: When making changes to your DNS configuration, it can take some time for these changes to propagate throughout the internet. This means that some users may still see the old version of your website while others see the new version.
- Domain not pointing correctly: Another issue with DNS configuration is when your domain name does not point correctly to your WordPress site. This could be due to incorrect A record or CNAME settings in your DNS configuration.
 Best Practices for Managing DNS Configuration on WordPress
The DNS configuration on WordPress can be found in the domain name registrar or hosting provider’s control panel. It is important to locate and manage this configuration properly, as it affects the website’s accessibility and performance.
Best practices for managing DNS configuration on WordPress include regularly checking for any changes or updates needed, such as adding new domains or updating existing ones. It is also recommended to use DNS management tools that automate these processes and ensure consistency across all domains.
Another best practice is to implement security measures, such as enabling DNSSEC (DNS Security Extensions) to protect against unauthorized changes or attacks. Additionally, optimizing TTL (Time-to-Live) values can help improve website performance by reducing the time it takes for users’ requests to be processed. By following these best practices, website owners can effectively manage their DNS configurations on WordPress and maintain a secure and reliable online presence.
Conclusion: Importance of Proper DNS Configuration on WordPress
DNS configuration on WordPress can be accessed through the domain registrar’s website or through a third-party DNS management tool. Once logged in, users can edit the name servers and DNS records to ensure that their site is pointing to the correct IP address and that all subdomains are properly configured.
Proper DNS configuration is important for a variety of reasons, including ensuring that visitors can access your website quickly and reliably. It also helps with search engine optimization (SEO) by ensuring that your site is indexed correctly and providing accurate information about your website to search engines. Additionally, proper DNS configuration can help prevent issues like downtime or errors when visitors try to access your site.
Overall, taking the time to properly configure your DNS on WordPress is an important step for any website owner looking to improve their online presence and provide a seamless user experience for their visitors. Whether you’re just starting out or have an established website, it’s worth investing in top-quality DNS management tools and services to ensure that everything runs smoothly.
