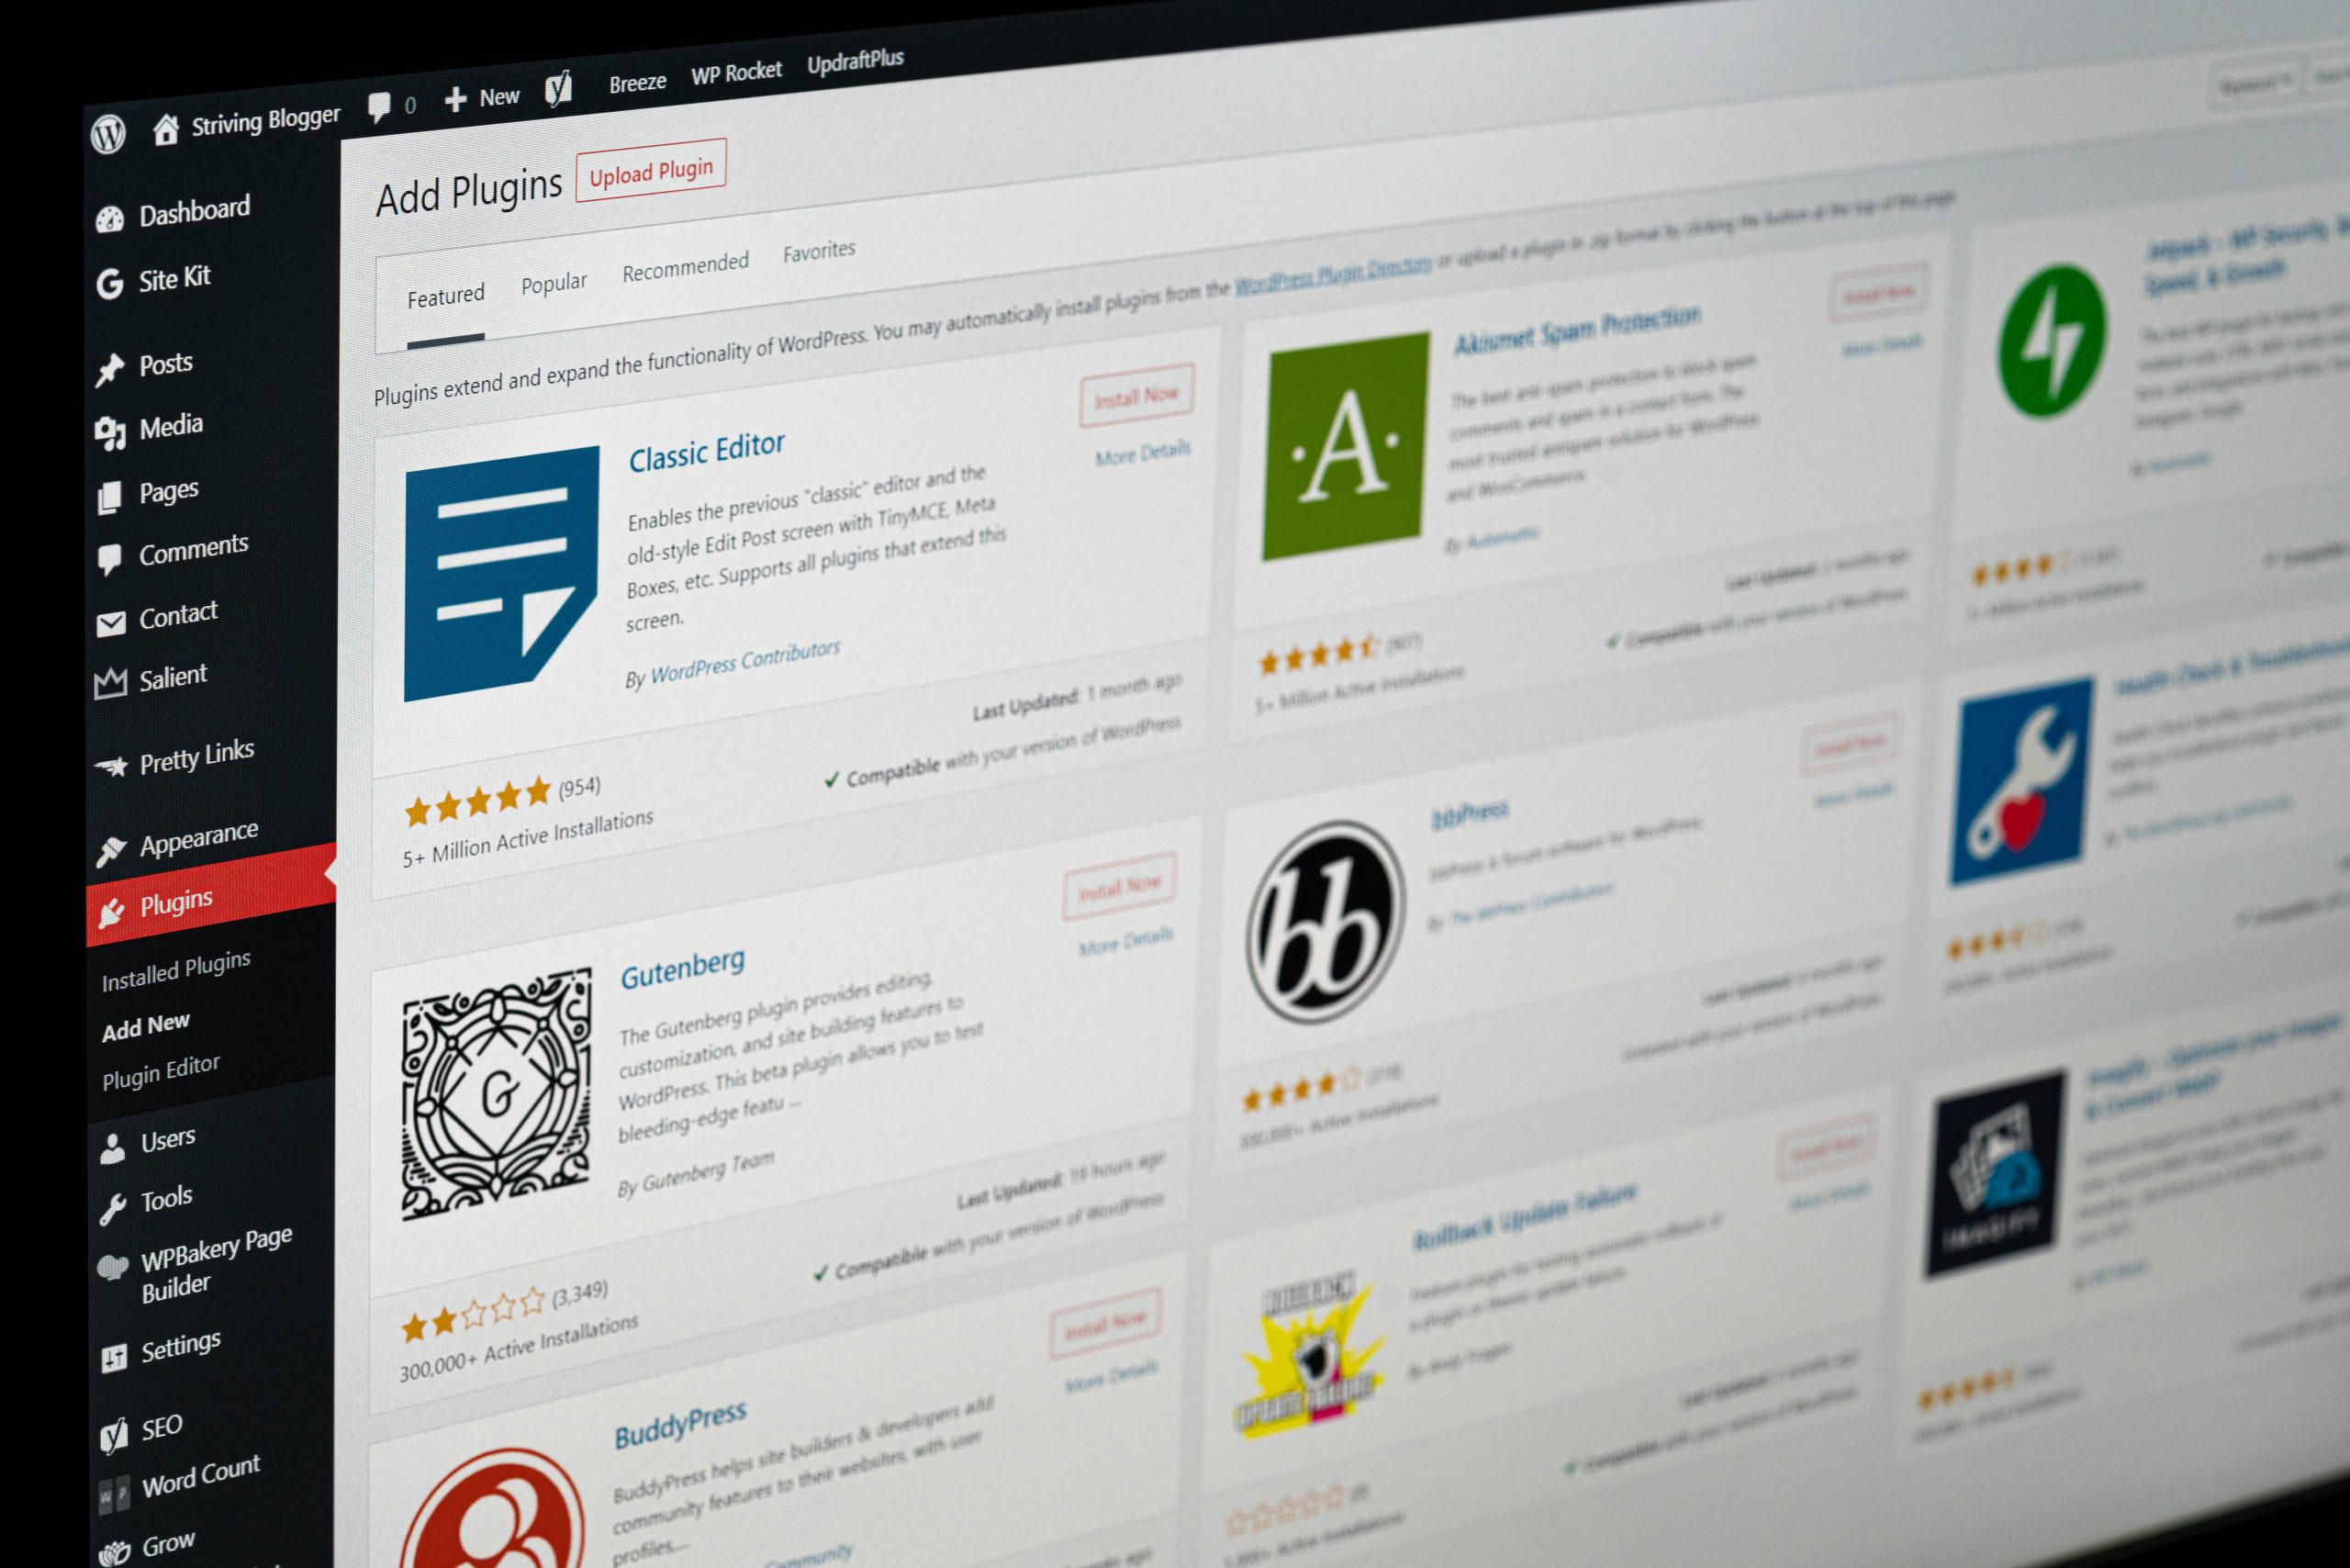
Debugging is an essential process in web development that helps identify and fix errors in code. WordPress, being one of the most popular content management systems (CMS) used by millions of websites worldwide, offers various debugging tools to help developers troubleshoot their code. However, enabling or disabling these tools can be a daunting task for those who are new to WordPress.
To make this process easier, we have created a comprehensive guide on how to enable and disable debugging in WordPress. In this article, we will discuss what debugging is and why it is important for WordPress developers. We will also provide step-by-step instructions on how to enable and disable different types of debugging in WordPress, including the built-in WP_DEBUG feature and third-party tools like Xdebug.
The Importance of Debugging in WordPress
Debugging is an essential part of WordPress development as it helps in identifying and fixing errors in the code. Debugging allows developers to find out what exactly went wrong, where it went wrong, and how to fix it. The process involves tracking down bugs by analyzing the error logs, stack traces, and other debugging information.
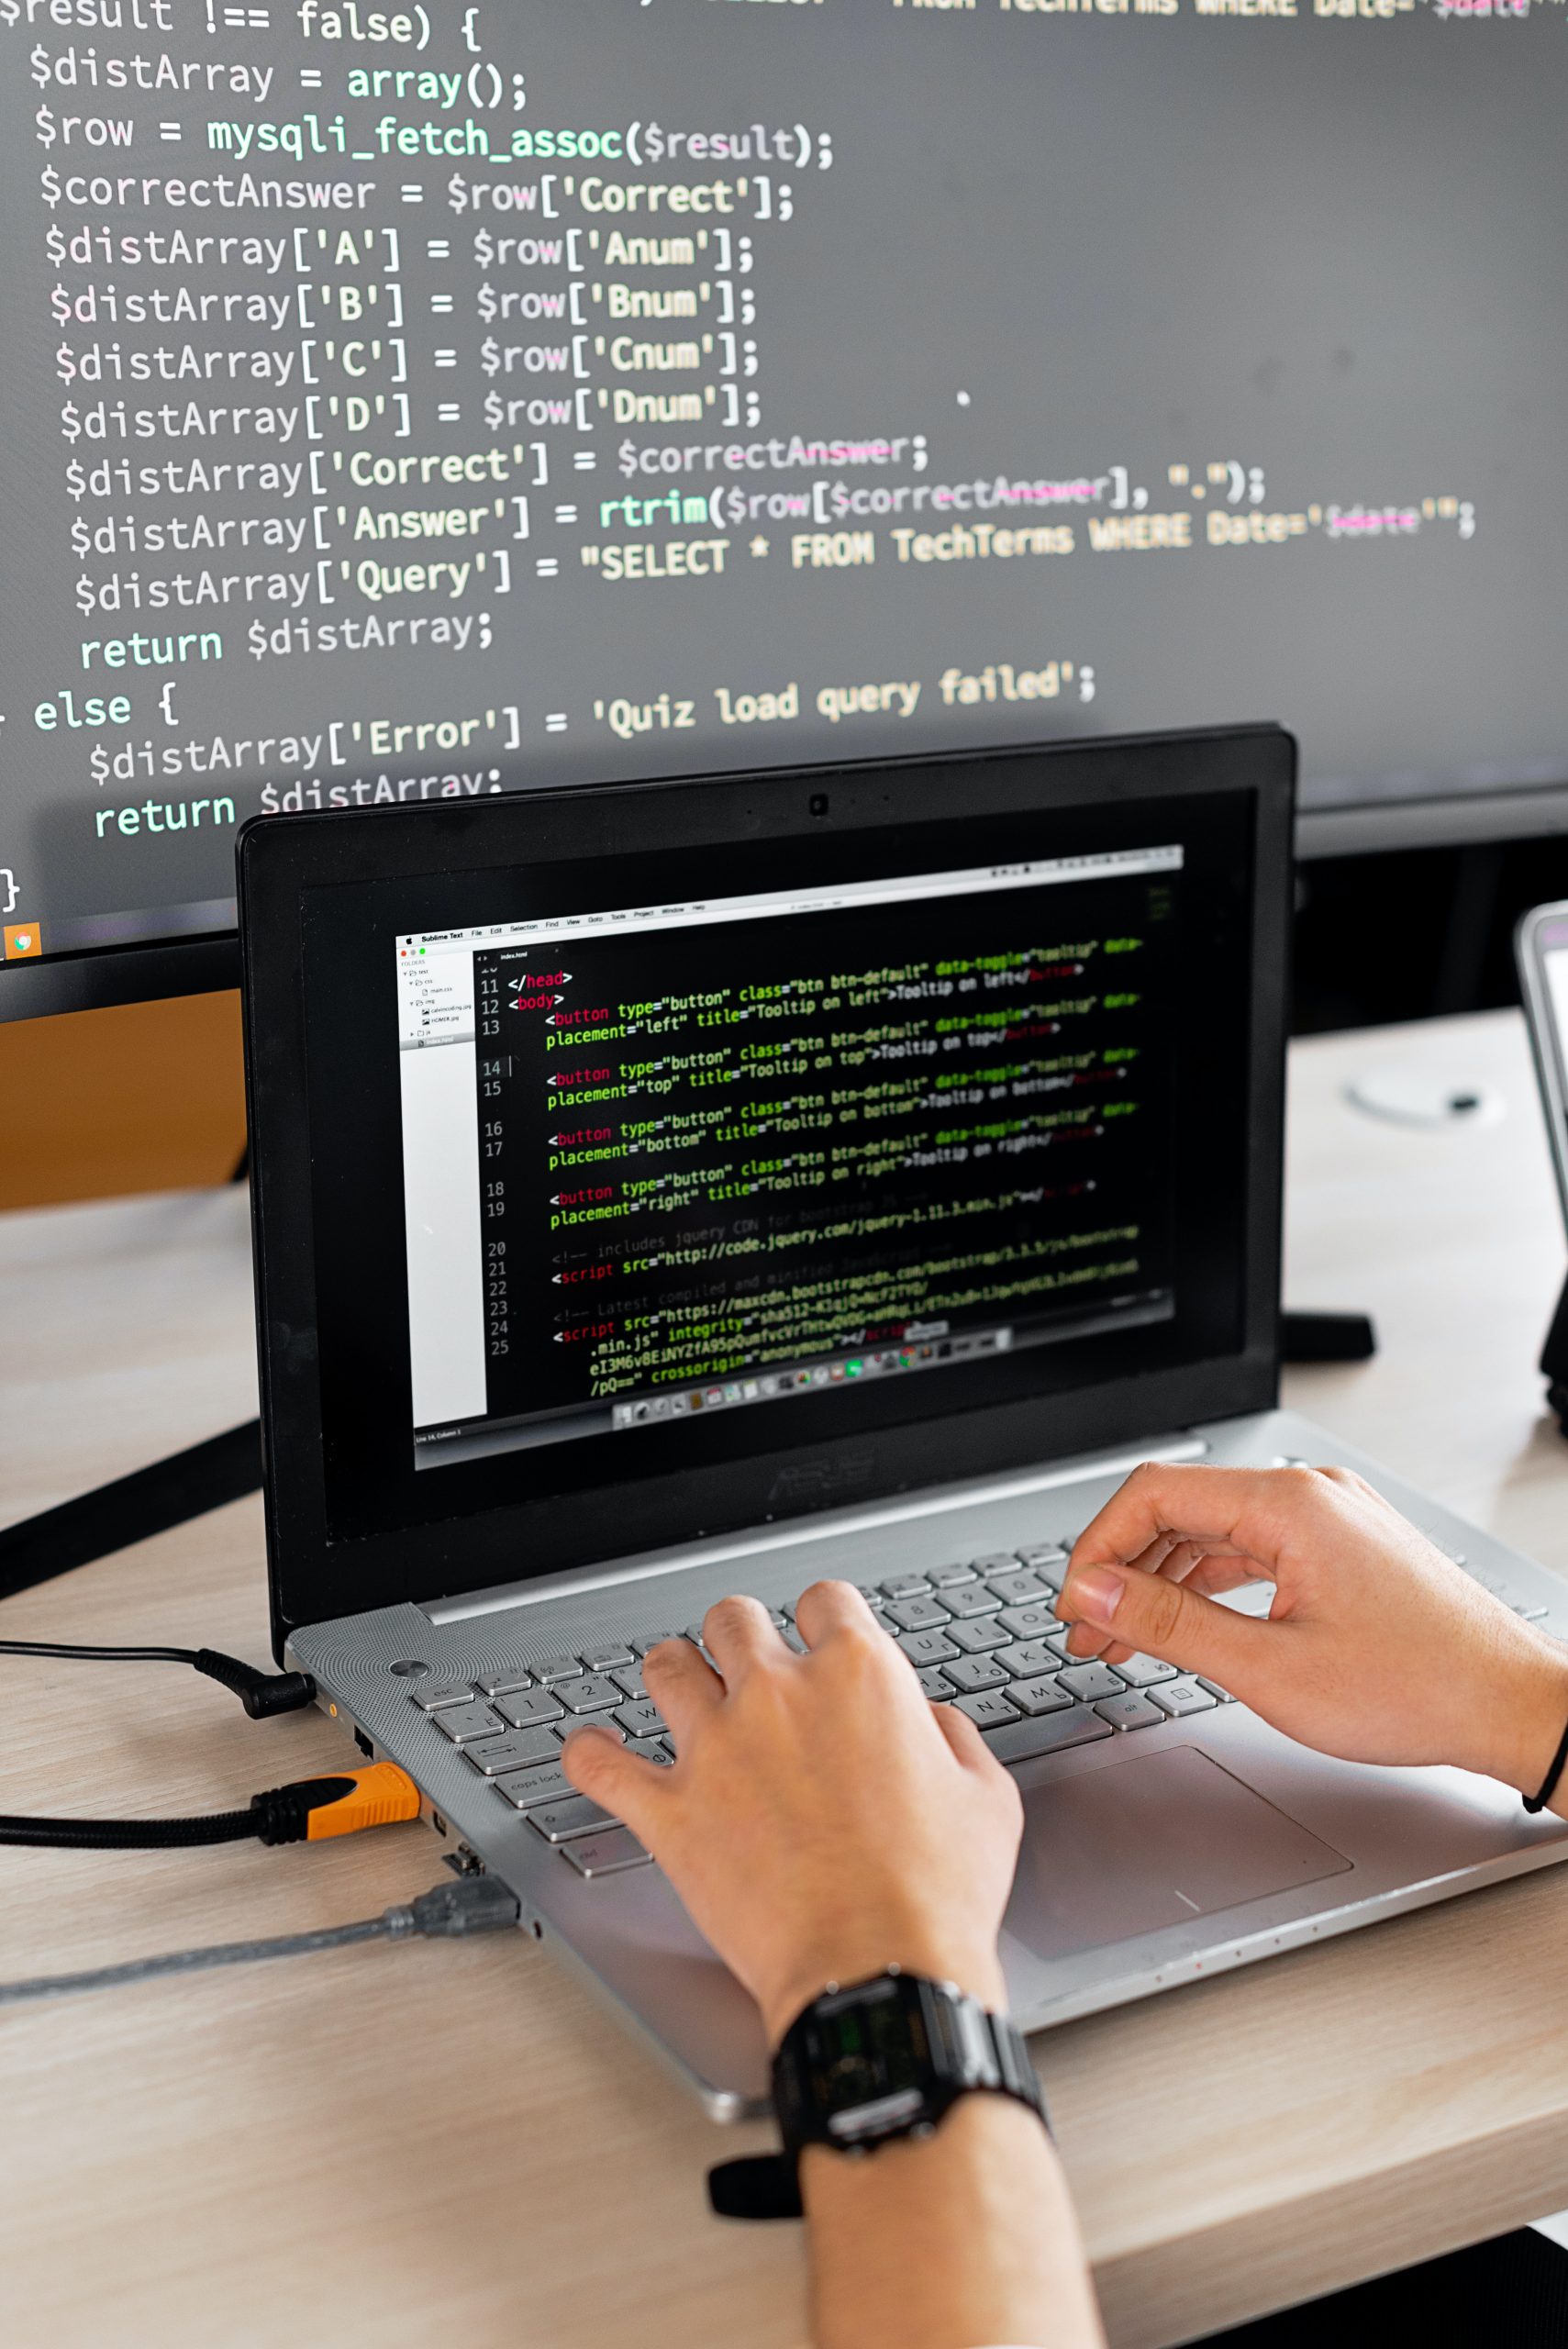
Enabling debugging in WordPress can be done by adding a few lines of code to the wp-config.php file. This will provide additional debugging information that can help identify issues during development. Disabling debug mode is equally important as leaving it on can slow down website performance and expose sensitive data such as database credentials.
Regularly performing debugging tasks can ensure that your WordPress site remains efficient and secure while offering users an optimal experience. It helps you identify any potential security breaches or vulnerabilities before they cause damage or harm to your site’s functionality or user experience. Therefore, making sure that you have proper debugging tools set up is critical for ensuring the long-term success of your WordPress site.
 Enabling Debugging in WordPress: Step-by-Step Guide
Enabling debugging in WordPress is an essential step to troubleshoot any issues on your website. Debugging displays error messages and warnings that can help you identify the root cause of a problem. Follow these easy steps to enable debugging in WordPress:
Step 1: Access the wp-config.php file using your FTP or cPanel account.
Step 2: Find the line that reads, “/* That’s all, stop editing! Happy blogging. */”
Step 3: Paste this code above that line – define(‘WP_DEBUG’, true);
Step 4: Save the changes and upload the new version of wp-config.php back to your server.
Now you have enabled debugging in WordPress. You can test if it’s working by intentionally creating an error on your site and checking for an error message. Remember to disable debugging once you have resolved all issues as it can negatively impact performance if left enabled for too long.
Disabling Debugging in WordPress: A Simple Process
Debugging is an essential process that helps developers identify and fix issues in WordPress websites. However, leaving debugging enabled can expose sensitive information about your site, making it vulnerable to attacks. In this blog post, we will discuss the simple process of disabling debugging in WordPress.
The first step to disabling debugging in WordPress is to locate the wp-config.php file in your site’s root directory. This file contains crucial information about your website’s configuration and settings. Open the wp-config.php file using a text editor such as Notepad or TextEdit.
Next, search for the following line of code: define(‘WP_DEBUG’, true); This line enables debugging mode on your website. To disable it, simply change ‘true’ to ‘false.’ Save the changes made to the wp-config.php file and upload it back to your server.
It is crucial to note that while disabling debugging mode removes sensitive information from being displayed on your site, it does not fix any underlying issues causing errors or vulnerabilities. As such, developers must re-enable debug mode when troubleshooting specific problems and disable it again once completed.
 Common Debugging Techniques for WordPress Errors
One of the most common debugging techniques for WordPress errors is to enable debugging. You can enable debugging by adding a few lines of code to your site’s wp-config.php file. This will allow you to see any error messages that are being generated by your site, which can help you identify and fix the problem.
Another effective technique is to disable all plugins and then reactivate them one-by-one until you find the plugin causing the issue. This process helps you isolate which plugin or theme might be causing a conflict or generating an error.
You can also try switching to a default theme like Twenty Twenty-One temporarily, as this can sometimes help identify if it’s just a theme-related issue. Remember that identifying and fixing errors requires patience, persistence, and attention to detail. With these common techniques in mind, however, you’ll be well on your way to resolving even the most stubborn WordPress issues.
 Best Practices for Using Debugging in WordPress Development
When it comes to WordPress development, debugging is an essential tool. Debugging can help you identify errors and bugs in your code, which can save you time and frustration in the long run. There are a few best practices that you should keep in mind when using debugging in WordPress development.
Firstly, it’s important to only enable debugging on a development site or staging environment. Enabling debugging on a live site can lead to security vulnerabilities and potential data breaches. Additionally, make sure to disable debugging once you’ve identified and fixed the issue.
Secondly, use a logging system for your debug messages instead of printing them directly on the screen. This will prevent cluttering up your website with unnecessary information and make it easier to track down specific issues.
Lastly, consider using third-party tools like Xdebug or Query Monitor to aid in your debugging process. These tools offer more detailed insights into your code’s performance and can help identify issues that may be difficult to spot otherwise. By following these best practices for using debugging in WordPress development, you’ll be able to more efficiently troubleshoot any issues that arise during the development process while keeping your site secure at all times.
Conclusion: Debugging is Essential for Successful WordPress Development
In conclusion, debugging is an essential aspect of successful WordPress development. It helps developers to identify and solve errors, improve site performance, and enhance user experience. By enabling debugging in WordPress, developers can easily detect issues and fix them before they cause major problems.
Disabling debugging after resolving the issues is also equally important as it reduces server load and protects sensitive information from being exposed to unauthorized persons. Moreover, debugging should be done regularly to ensure that the website is functioning optimally.
Overall, whether you are a beginner or an experienced developer, understanding how to enable and disable debugging in WordPress is crucial for ensuring that your website runs smoothly. With proper implementation of this technique in your development process, you can avoid costly mistakes and deliver high-quality websites that meet your clients’ expectations.
