
Your iPhone is not just a phone with a good camera; it can also be one of the best webcams you already own. Whether you are joining a Zoom meeting, recording a tutorial in OBS, livestreaming to Twitch or YouTube, or improving your remote work setup, using an iPhone as a webcam can dramatically upgrade your image quality on both Windows and Mac.
TLDR: You can use your iPhone as a webcam through Apple’s built-in Continuity Camera on modern Macs, or through third-party apps such as Camo, EpocCam, iVCam, or NDI HX Camera on Windows and Mac. For the best results, connect by USB when possible, mount the iPhone securely, use good lighting, and choose the iPhone camera inside Zoom, OBS, or your streaming software. OBS may require a virtual camera or app-specific source depending on the method you choose.
Why Use an iPhone as a Webcam?
Most built-in laptop webcams are designed for convenience, not cinematic quality. They often struggle with low light, produce flat colors, and have limited resolution. By comparison, even an older iPhone usually has a sharper sensor, better autofocus, stronger image processing, and much better exposure handling.
Using your iPhone as a webcam gives you a more polished look without buying a dedicated camera. It is especially useful if you host webinars, teach online, record podcasts, run livestreams, or simply want to look more professional in video calls. With the right setup, your iPhone can produce a bright, crisp, and reliable image that looks closer to a mirrorless camera than a typical webcam.
What You Need Before You Start
The exact requirements depend on whether you use Windows or Mac, but the basic setup is simple. You need an iPhone, a computer, a mounting solution, and either a built-in Apple feature or a third-party webcam app.
- An iPhone: Newer models offer better image quality, but many older iPhones still work well.
- A Mac or Windows PC: Mac users may be able to use Continuity Camera without installing extra software.
- A USB cable or strong WiFi: USB is usually more stable and has lower delay.
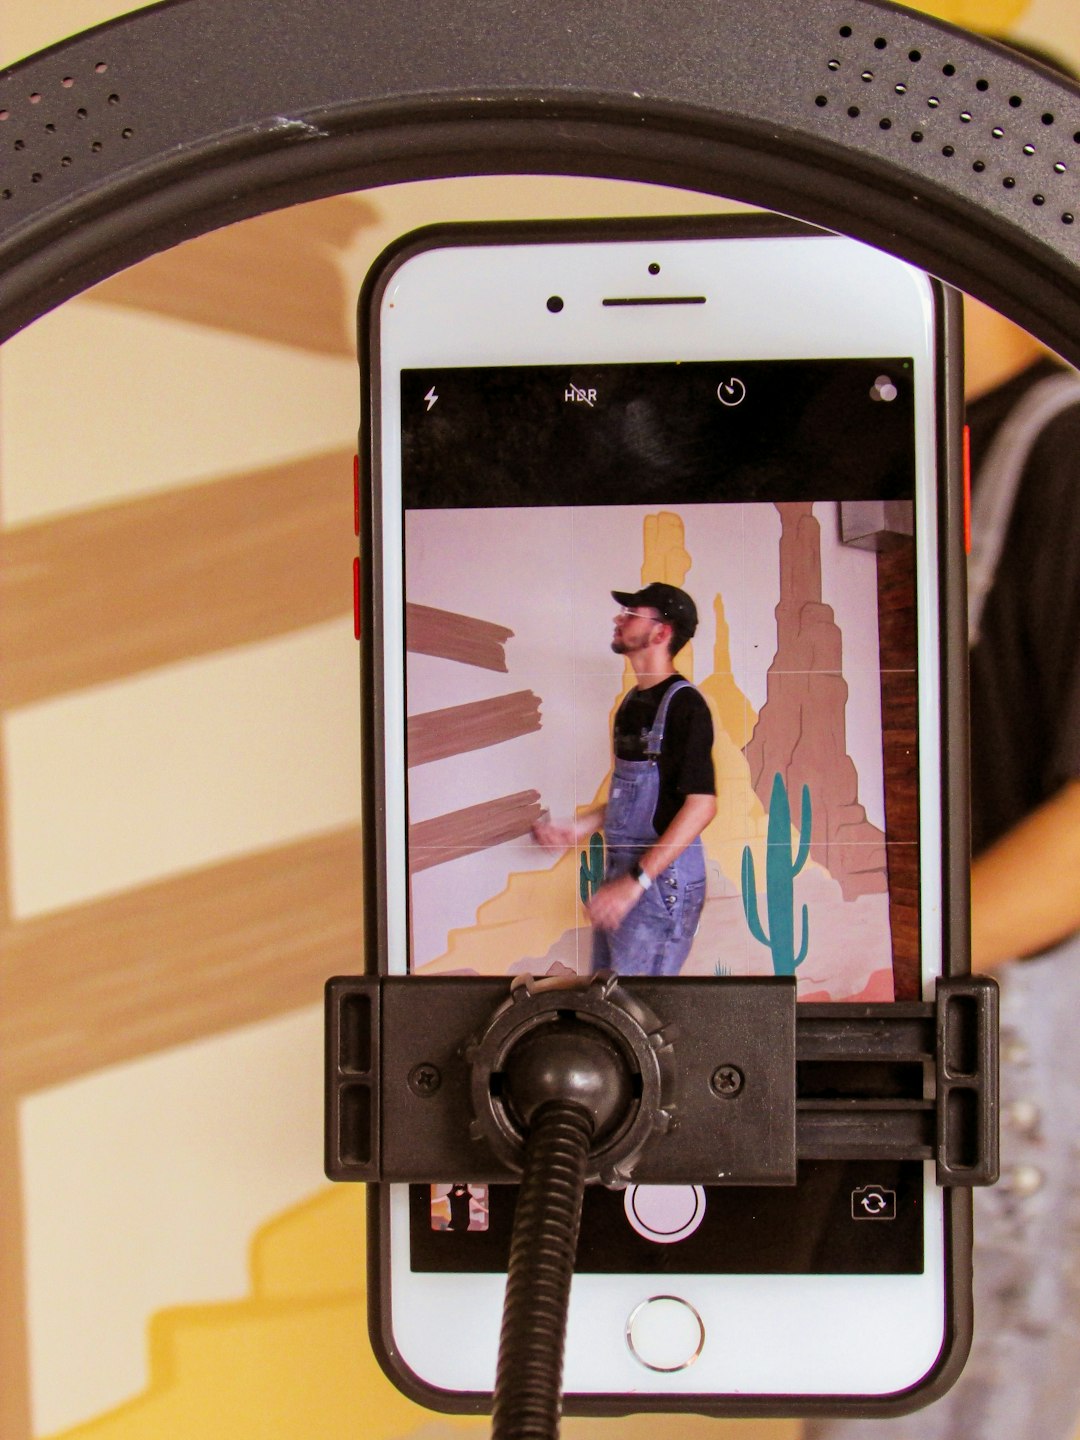
- A mount or tripod: Avoid leaning your phone against books or a mug if you want a professional angle.
- Good lighting: A window, desk lamp, or ring light can make a bigger difference than any app setting.
Option 1: Use Continuity Camera on Mac
If you have a recent iPhone and Mac, Apple’s Continuity Camera is the easiest method. It allows your Mac to detect your iPhone as a webcam automatically in apps such as Zoom, FaceTime, QuickTime, and many video conferencing tools.
To use it, make sure both devices are signed in with the same Apple ID, have Bluetooth and WiFi turned on, and are close to each other. Your iPhone should be running a supported version of iOS, and your Mac should be on a supported version of macOS.
- Mount your iPhone near the top of your monitor or laptop screen.
- Lock the iPhone screen and place it in landscape or portrait orientation.
- Open Zoom, FaceTime, or another video app on your Mac.
- Go to the app’s camera settings.
- Select your iPhone from the list of available cameras.
One of the best parts of Continuity Camera is that it supports Apple’s video effects. Depending on your iPhone and Mac, you may be able to use Center Stage, Portrait mode, Studio Light, or Desk View. These effects can help keep you centered, blur your background, improve lighting on your face, or show a top-down view of your desk.
Option 2: Use iPhone as a Webcam on Windows
Windows does not have Apple’s Continuity Camera built in, but several apps make the process straightforward. Popular options include Camo, EpocCam, iVCam, and DroidCam. Although features vary, most work the same way: install an app on your iPhone, install a companion program or driver on your PC, then select the iPhone as a camera in Zoom, OBS, Teams, or another app.
For Windows users, Camo is one of the most polished choices, with detailed control over resolution, lens selection, framing, and image adjustments. iVCam is popular for USB and WiFi connections, while EpocCam is simple and widely supported. If your goal is livestreaming, look for an app that works smoothly with OBS and supports higher resolutions.
- Choose a webcam app and install it on your iPhone.
- Install the matching desktop software on your Windows PC.
- Connect your iPhone by USB or make sure both devices are on the same WiFi network.
- Open the desktop app and confirm the phone video appears.
- Open Zoom, OBS, or your streaming software and choose the app’s camera source.
Tip: If the app does not detect your iPhone over USB, unlock the phone, tap Trust This Computer if prompted, and check that the cable supports data transfer, not just charging.
Using Your iPhone Webcam in Zoom
Zoom makes camera switching easy once your iPhone webcam method is installed and running. Open Zoom, click the small arrow next to the camera icon, and choose your iPhone or the webcam app name from the camera list. If you do not see it, restart Zoom after installing the webcam software.
For a cleaner image, open Zoom’s video settings and review these options:
- HD video: Enable it if available and your connection can handle it.
- Touch up appearance: Use lightly, as too much smoothing can look unnatural.
- Low light adjustment: Turn it off if your iPhone app already handles exposure well.
- Mirror my video: This only affects your preview, not necessarily what others see.
Position the iPhone slightly above eye level and look toward the lens, not the screen. This creates a more natural, confident appearance, especially in interviews, client calls, and presentations.
Using Your iPhone Webcam in OBS
OBS gives you more creative control, which is why streamers, educators, and content creators love it. Depending on the app you use, your iPhone may appear as a standard Video Capture Device, an NDI source, or a browser or virtual camera input.
To add your iPhone camera in OBS, open OBS and go to Sources. Click the plus button, choose Video Capture Device, and select your iPhone webcam app from the device menu. If you are using an NDI-based app, install the required OBS NDI plugin, then add an NDI Source instead.
Once the video appears, resize and crop it to fit your scene. You can add overlays, lower thirds, background graphics, game capture, screen capture, and alerts. OBS also lets you apply filters such as color correction, sharpening, chroma key, or LUTs for a more stylized look.
If you want to use OBS as your camera in Zoom or another app, click Start Virtual Camera in OBS. Then, in Zoom, choose OBS Virtual Camera as your webcam. This is ideal if you want Zoom attendees to see your fully designed OBS scene instead of just the raw iPhone feed.
USB vs WiFi: Which Connection Is Better?
Most iPhone webcam apps support both USB and WiFi, but they are not equal. USB is usually the better choice for important calls, livestreams, and recordings. It provides a more stable connection, reduces latency, and keeps your iPhone charged while in use.
WiFi is convenient because it allows more flexible placement, especially if you want a wider shot or a second camera angle. However, WiFi can introduce delay, compression, stutter, or dropouts if your network is busy. If you are streaming for an audience or recording something you cannot easily redo, use USB whenever possible.
Getting the Best Image Quality
Your iPhone camera is powerful, but setup matters. A badly lit iPhone shot can still look worse than a well-lit basic webcam. Start with lighting: face a window if possible, or place a soft light in front of you at a slight angle. Avoid strong light behind you unless you want to appear as a silhouette.
- Use the rear camera: The rear camera is usually sharper than the front camera.
- Clean the lens: Fingerprints can make the image look hazy.
- Lock focus and exposure: Some apps let you prevent brightness from constantly shifting.
- Use landscape mode: Best for Zoom, YouTube, Twitch, and most OBS layouts.
- Choose a flattering angle: Eye level or slightly above is usually best.
Also consider your background. A tidy shelf, plant, lamp, or plain wall looks better than a cluttered room. If you use background blur, keep it subtle so your video still looks natural.
What About Audio?
Although your iPhone can capture audio, it is usually better to use a dedicated microphone or headset. The iPhone may be mounted far from your mouth, and webcam apps can sometimes introduce audio delay. For Zoom meetings, a USB microphone, wireless earbuds, or a good headset will usually sound clearer.
In OBS, make sure your audio and video are synchronized. If your voice seems slightly ahead of or behind the picture, use the Sync Offset setting in the Advanced Audio Properties panel. Even a small delay can feel distracting to viewers, so it is worth testing before going live.
Troubleshooting Common Problems
If your iPhone does not appear as a camera, first restart the video app and the webcam companion app. Then check the cable, permissions, and device settings. On Windows, you may need to reinstall the webcam driver. On Mac, confirm that the app has camera permissions in system settings.
- No video: Open the iPhone webcam app first, then relaunch Zoom or OBS.
- Laggy video: Switch from WiFi to USB, lower the resolution, or close background apps.
- Overheating: Remove the phone case, reduce brightness, and avoid direct sunlight.
- Battery drain: Use a USB connection or connect the phone to power.
- Wrong orientation: Rotate the phone before selecting the camera, or adjust the source transform in OBS.
Final Thoughts
Using your iPhone as a webcam is one of the easiest upgrades you can make to your video setup. Mac users can take advantage of Continuity Camera for a nearly effortless experience, while Windows users have several excellent app-based options. Zoom users can enjoy sharper calls in minutes, and OBS users can build professional streaming scenes with a high-quality camera they already own.
The key is to treat the iPhone like a real camera: mount it securely, light yourself well, use a stable connection, and test your audio before going live. Once everything is set up, you may find that your old webcam stays unplugged for good.
