Backing up an iPhone is not just a convenience; it is a basic safeguard against theft, device failure, accidental deletion, software problems, and unexpected photo loss. Because photos and videos often represent the most irreplaceable data on a phone, a reliable backup plan should protect both your everyday iPhone settings and your full-resolution media library. The safest approach is to use more than one backup method: iCloud for automatic protection, a Mac for local recovery, and external storage for an independent archive.
TLDR: The best way to back up an iPhone without losing photos is to combine iCloud Backup, iCloud Photos, a Mac backup through Finder, and a separate copy of photos on external storage. iCloud keeps your data synced and recoverable, while a Mac backup gives you a local restore option if cloud access is limited. For maximum safety, export your original photos and videos to an external drive so they remain protected even if your Apple account, phone, or computer has a problem.
Why One Backup Is Not Enough
Many iPhone users assume that turning on iCloud Backup automatically protects everything. In reality, iCloud Backup and iCloud Photos are related but not identical. iCloud Backup stores many device settings, app data, messages, and configuration details. iCloud Photos, when enabled, syncs photos and videos across devices using the same Apple Account.
This distinction matters. If iCloud Photos is turned on, your photos are generally not stored inside the standard iCloud device backup because they are already being synced separately. That means deleting a photo from one device can also delete it from iCloud and other synced devices. For that reason, anyone serious about preserving photos should keep an additional copy outside the sync system.
A dependable backup strategy follows the 3 2 1 rule: keep at least three copies of important data, on two different types of storage, with one copy stored separately from the main device. For iPhone users, that can mean the iPhone itself, iCloud, a Mac, and an external drive.
Method 1: Back Up iPhone Data to iCloud
iCloud is the easiest backup option because it works automatically when configured correctly. It is especially useful for people who do not regularly connect their iPhone to a computer. Once enabled, iCloud Backup can run when the iPhone is charging, locked, connected to Wi Fi, and has enough iCloud storage available.
To turn on iCloud Backup:
- Open Settings on your iPhone.
- Tap your name at the top of the screen.
- Select iCloud.
- Tap iCloud Backup.
- Turn on Back Up This iPhone.
- Tap Back Up Now to create an immediate backup.
After the backup finishes, check the time of the latest successful backup. Do not assume the process completed unless you confirm it. A failed backup may be due to low iCloud storage, unstable Wi Fi, insufficient battery, or Apple Account issues.

Important: iCloud Backup does not necessarily include everything. Items already stored in iCloud, such as iCloud Photos, contacts, calendars, notes, and iCloud Messages, may sync separately rather than being duplicated inside the backup. This is efficient, but it also means you need to understand what is being synced and what is being backed up.
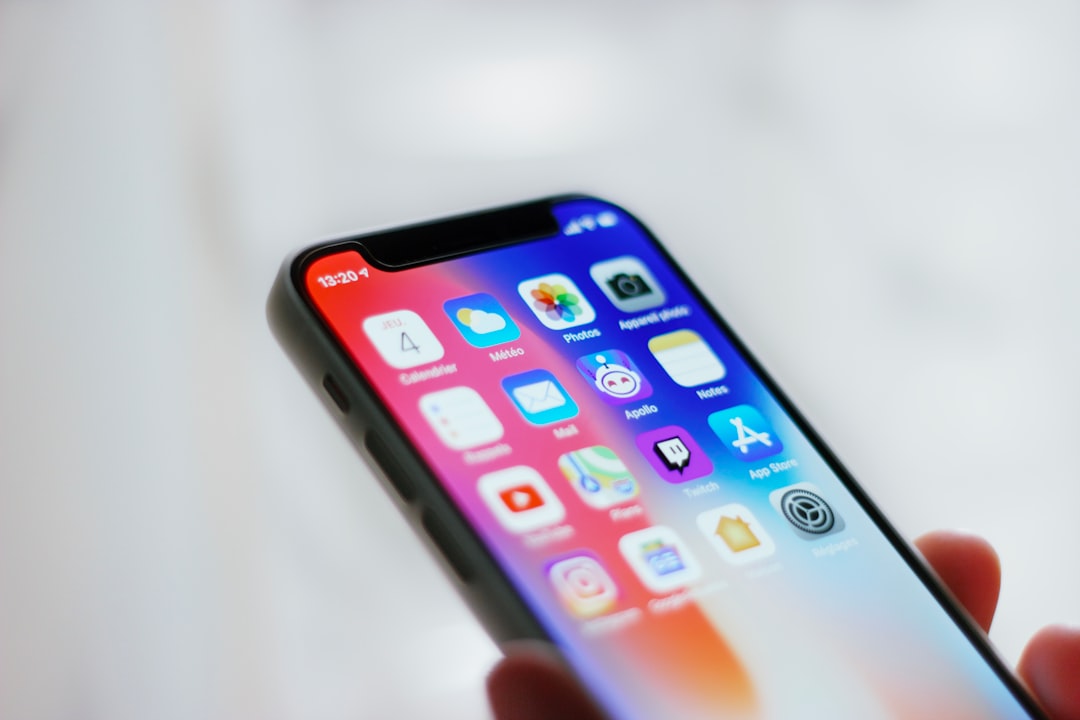
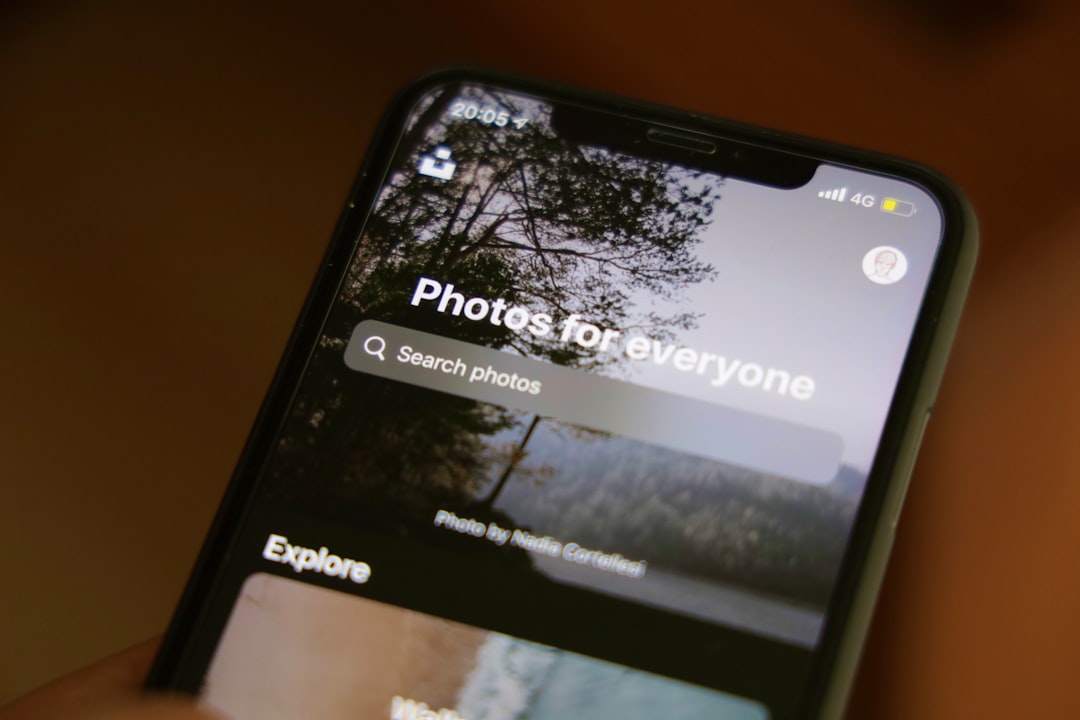
Protecting Photos with iCloud Photos
If your primary concern is not losing photos, review your iCloud Photos settings carefully. Go to Settings, tap your name, choose iCloud, then select Photos. If Sync this iPhone is enabled, your photos and videos are uploaded to iCloud and synchronized across your Apple devices.
There are two important storage options:
- Optimize iPhone Storage: Saves space on the iPhone by keeping smaller versions locally while full-resolution originals remain in iCloud.
- Download and Keep Originals: Stores full-resolution photos and videos directly on the iPhone, if space allows.
Optimize iPhone Storage is convenient, but it can create confusion. If only optimized versions are stored on your iPhone, copying photos directly from the device may not capture every original file unless the originals are downloaded first. For a complete independent archive, make sure you export originals from iCloud or use a Mac that has downloaded the full library.
Method 2: Back Up iPhone to a Mac Using Finder
A local Mac backup is one of the most reliable ways to create a restorable copy of your iPhone. Unlike iCloud, it does not depend on available cloud storage or internet speed. It is also useful if you need to restore your iPhone quickly after a failed update, replacement, or repair.
To back up your iPhone to a Mac:
- Connect the iPhone to the Mac using a trusted cable.
- Open Finder.
- Select your iPhone from the Finder sidebar.
- Under the General tab, choose Back up all of the data on your iPhone to this Mac.
- Enable Encrypt local backup.
- Create a secure password and store it safely.
- Click Back Up Now.
Encryption is strongly recommended. An encrypted backup can include sensitive information such as saved passwords, Wi Fi settings, Health data, and website history. Without encryption, some important data may not be included. However, if you forget the encryption password, you may not be able to restore from that backup, so record it in a secure password manager.
A Finder backup is not the same as a simple photo export. It is designed mainly for restoring an iPhone to a previous state. You should still separately copy your photos and videos if you want a browsable, independent media archive.
Method 3: Import Photos to the Mac Photos App
The Photos app on macOS can import pictures and videos directly from your iPhone. This is a practical way to keep a local photo collection, especially if you prefer browsing and organizing your library on a larger screen.
To import photos:
- Connect your iPhone to your Mac.
- Open the Photos app.
- Select your iPhone under Devices.
- Unlock your iPhone and tap Trust if prompted.
- Select the photos and videos you want to import.
- Click Import Selected or Import All New Items.
Before relying on this method, confirm whether your Mac Photos library is set to download originals. In the Photos app, go to Photos, then Settings, then iCloud. If iCloud Photos is enabled on the Mac, choose Download Originals to this Mac if you want the Mac to store the full-resolution library locally.
This setting requires enough Mac storage for your entire photo library. If your library is large, consider storing the Photos library on an external drive formatted properly for macOS. For long-term reliability, avoid keeping your only full-resolution photo collection on a nearly full internal drive.
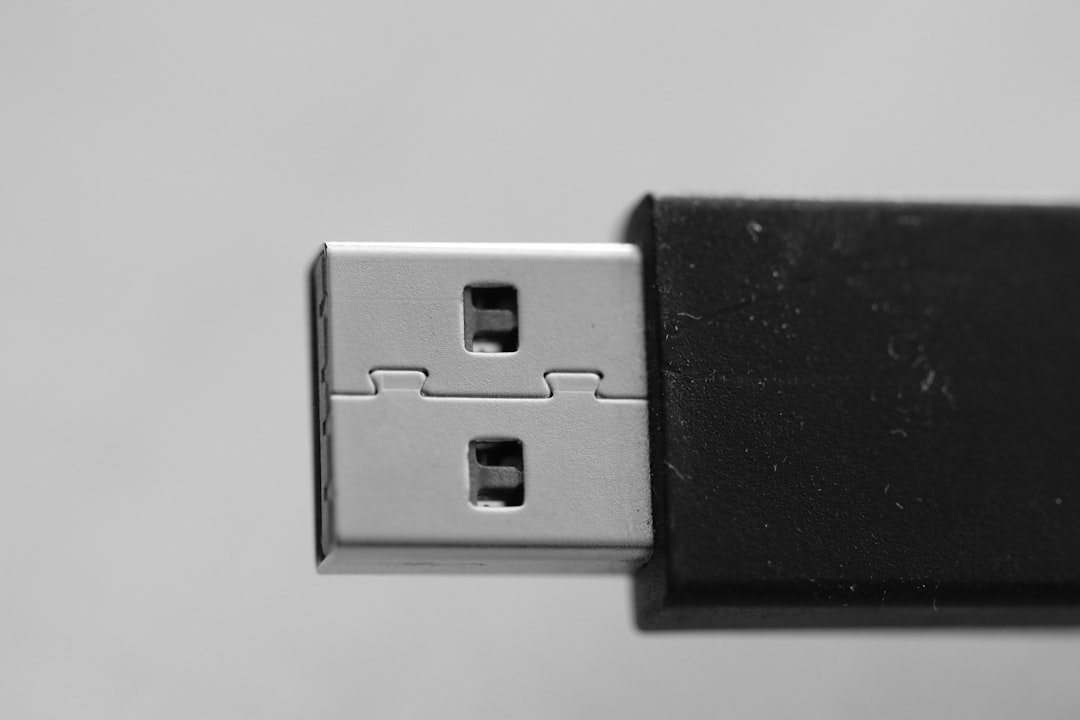
Method 4: Copy Photos and Videos to External Storage
External storage is the best way to create an independent archive that is not tied to iCloud syncing. This is especially important for photos and videos because sync services can replicate deletions. If you accidentally delete a photo and the deletion syncs, a separate external copy can save it.
You can back up iPhone photos to external storage in several ways:
- Import to a Mac first, then copy exported originals to an external drive.
- Use Image Capture on the Mac to copy files directly from the iPhone to a folder.
- Download originals from iCloud.com and save them to an external drive.
- Use a compatible USB C drive with newer iPhones that support direct external storage workflows.
For a clean archive, create a clear folder structure. For example, use folders by year and month, such as Photos 2024, Photos 2025, or iPhone Videos. Avoid dumping thousands of files into one folder without organization. A structured archive is easier to verify and restore.
When exporting from the Mac Photos app, use File, then Export, then select either Export Unmodified Original or standard export options. If you want the exact original files captured by the iPhone, choose unmodified originals. If you want edited versions, export the edited photos separately.
Using Image Capture for Direct Photo Copies
Image Capture is a built-in macOS tool that many users overlook. It can copy photos and videos from an iPhone directly into a folder without importing them into the Photos app. This is useful when you want a straightforward file-based backup.
To use Image Capture:
- Connect and unlock your iPhone.
- Open Image Capture on the Mac.
- Select your iPhone in the sidebar.
- Choose a destination folder, including one on an external drive.
- Select the files you want to copy.
- Click Download or Download All.
After copying, open several files from the external drive to confirm they work. Also compare the approximate number of items and total storage size against your iPhone or iCloud library. Verification is an essential part of any serious backup process.
How to Avoid Losing Photos During Backup
The most common photo loss problems come from misunderstanding synchronization. If iCloud Photos is on, deleting a photo from your iPhone usually deletes it from iCloud as well. The Recently Deleted album may give you a limited recovery window, but it is not a permanent backup.
Follow these safeguards:
- Do not delete photos from your iPhone until you confirm they exist in at least two other places.
- Check whether files are originals or optimized versions before copying.
- Keep an external backup disconnected when not in use to reduce risk from accidental deletion or malware.
- Use encrypted backups for sensitive iPhone data.
- Review backup dates regularly instead of assuming automatic backups are current.
If you plan to turn off iCloud Photos, read the prompts carefully. Apple may ask whether you want to download copies to the device. Choose the option that preserves originals before disabling sync, especially if you have been using optimized storage.
Recommended Backup Plan
For most people, the safest practical routine is simple:
- Enable iCloud Backup for automatic device protection.
- Enable iCloud Photos if you want seamless photo access across devices.
- Create an encrypted Finder backup on your Mac at least monthly.
- Export original photos and videos to an external drive regularly.
- Keep one additional copy of the external archive in another safe location if the photos are irreplaceable.
This layered approach protects against different failures. iCloud helps if your iPhone is lost. A Mac backup helps if you need a fast local restore. External storage protects against sync mistakes, account problems, and accidental deletion. No single method is perfect, but together they provide strong protection.
Final Thoughts
Backing up an iPhone properly requires more than pressing one button. iCloud is excellent for convenience, Finder backups are valuable for full-device recovery, and external storage is essential for preserving photos outside a sync environment. If your photos matter, treat them as permanent records rather than temporary phone files.
The best backup system is one you actually maintain. Set a regular schedule, verify your backups, and keep full-resolution copies of your most important photos in more than one place. With a careful combination of iCloud, Mac backups, and external storage, you can protect your iPhone data and greatly reduce the risk of losing your photos.
