If you’ve just seen the dreaded Error 526: Invalid SSL Certificate, don’t panic! This guide will walk you through how to fix it. We promise to keep it simple, fun, and easy to follow. Even if you’re not super tech-savvy, you’ll have your site back up in no time.
What Does Error 526 Mean?
Error 526 happens when Cloudflare can’t verify your website’s SSL certificate. Your site might be using HTTPS, but if something’s wrong with your certificate on the origin server (your hosting provider), Cloudflare gets confused and throws this error.
Think of Cloudflare as a security guard. If your server doesn’t show valid ID (a working SSL certificate), Cloudflare won’t let the visitor through. Hence… Error 526.

Common Causes of Error 526
There aren’t a million reasons this happens. Just a few usual suspects:
- Missing SSL certificate on your server
- Expired certificate
- Self-signed certificate
- Cloudflare is set to FULL (Strict) mode
Luckily, you can fix these. Let’s go step by step.
Step 1: Check Your SSL Mode in Cloudflare
- Log in to your Cloudflare dashboard.
- Click on your site.
- Go to the “SSL/TLS” tab.
- Look at your current setting. If it says “Full (Strict),” this means Cloudflare wants a perfectly valid certificate from your server.
If your origin server doesn’t have a proper certificate—or it’s expired—this will cause the 526 error. So you have a choice here:
- Option A: Install or fix the certificate on your origin server (recommended).
- Option B: Switch Cloudflare SSL Mode to just Full (not Strict). This is not the safest choice but it can be a quick fix.
Step 2: Check Your SSL Certificate
Time to take a peek at your server’s SSL certificate. You need to make sure it’s:
- Properly installed
- Issued by a trusted Certificate Authority (CA)
- Not expired
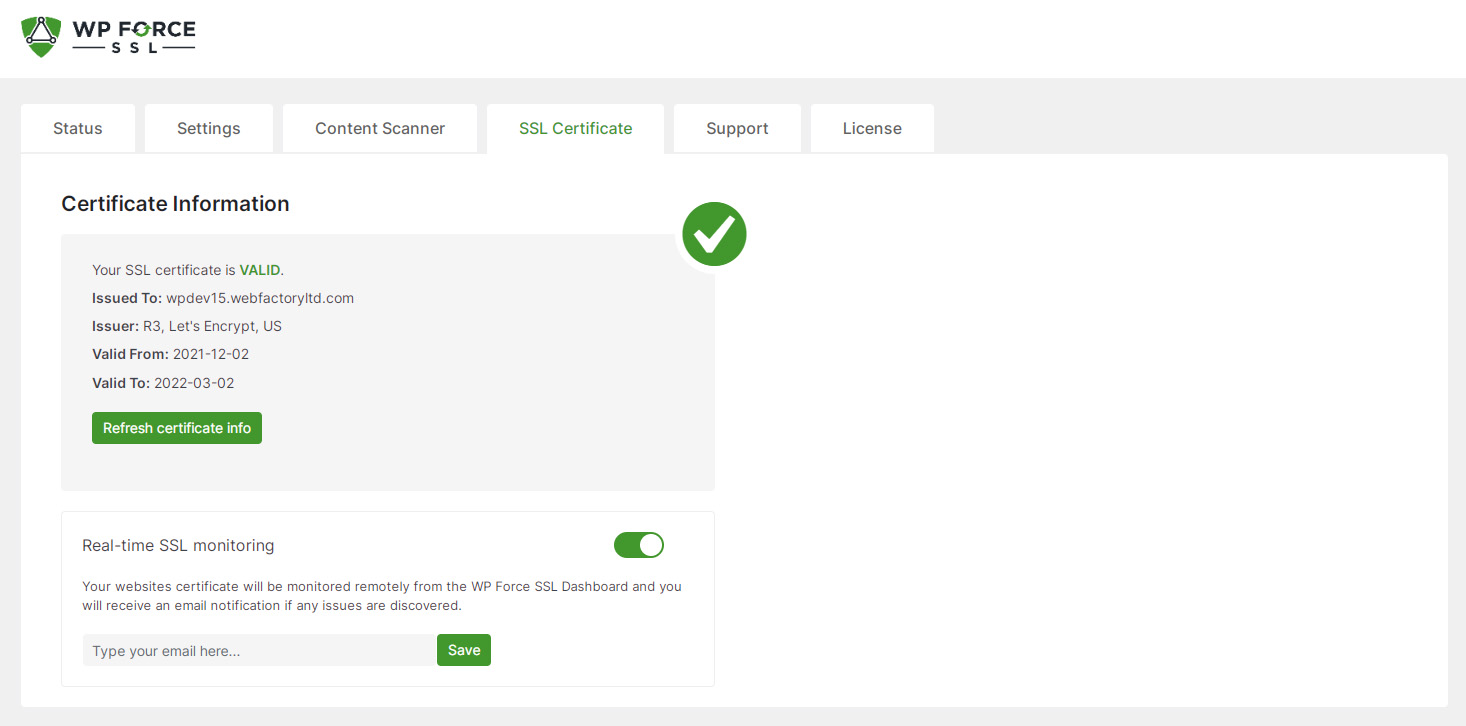
You can use tools like SSL Shopper or SSL Labs to check your site’s certificate. Just enter your domain name and review the results.
If the certificate is missing or invalid, your hosting provider can help you install a new one. Or, you can do it yourself with Let’s Encrypt. It’s free and not too hard to set up.
Step 3: Install a Valid Certificate
If your certificate is expired, self-signed, or just plain broken, it’s time to replace it.
Here are three ways to get a valid SSL certificate:
- Use Let’s Encrypt: Free, trusted, and often built into your hosting panel like cPanel or Plesk.
- Buy one from a CA: Companies like DigiCert, Namecheap, or GoDaddy offer them.
- Cloudflare Origin Certificate: Only works between your server and Cloudflare. It won’t show as valid if someone bypasses Cloudflare, but it’s good enough if your site always goes through Cloudflare.
Once you have a good certificate in place, and it’s valid and trusted, you’re almost done!

Step 4: Confirm the Certificate Route
This sounds technical, but it’s not.
When a browser or Cloudflare checks your certificate, it follows a “chain” of trust from the certificate on your server to its root authority. If there’s a missing link in the chain—like no intermediate certificate—this can also cause issues.
Your hosting provider or CA should give you a bundle that includes these extras. Always make sure you upload the full certificate chain when installing your SSL.
Step 5: Restart and Clear Cache
Sometimes, fixes don’t take effect right away. Here’s what to do next:
- Restart your server if you made changes to SSL settings.
- Clear your browser cache.
- Purge Cloudflare cache for good measure.
This gives everyone a fresh start.
Bonus Trick: Use Cloudflare’s Origin Certificates
If you don’t want to deal with third-party certificates, Cloudflare has a super handy feature: Origin Certificates.
These work only between your server and Cloudflare. People visiting your site will still see the padlock and everything will be secure.
- In Cloudflare, go to the SSL/TLS tab.
- Click “Origin Server.”
- Generate a new certificate.
- Copy and install it on your origin server.
Just make sure your Cloudflare SSL mode is set to “Full (Strict).”
What If You’re Using a CMS Like WordPress?
If your site runs on WordPress, you’ll want to check a couple more things:
- Update your WordPress Address (URL) and Site Address (URL) to use
https://. - Use a plugin like “Really Simple SSL” to handle redirects and mixed content issues.
These steps won’t fix a broken certificate, but they help prevent other SSL-related messes.
Final Checklist
Here’s a quick rundown to make sure you covered it all:
- ✔ You checked Cloudflare’s SSL mode.
- ✔ You verified your server’s certificate.
- ✔ You fixed or replaced the certificate.
- ✔ You restarted your server and cleared cache.
- ✔ Everything is well-connected and secure.
What Not to Do
Let’s save you from some common mistakes:
- 🚫 Don’t just turn SSL off in panic. Bad idea!
- 🚫 Don’t use self-signed certificates with Strict mode.
- 🚫 Don’t ignore certificate expiration notices!
Conclusion
Error 526 can be a hassle, but it’s totally fixable. The key is understanding where the problem lies: usually your server’s SSL certificate.
Fix that, and Cloudflare will happily trust your site again. Visitors get the padlock. You get peace of mind.
Now go ahead, and show that error who’s boss!
Still stuck? Drop your hosting provider or Cloudflare a message. They’re usually helpful!


