
Adding background music to a video can exponentially increase its emotional impact, engagement factor, and overall professionalism. One of the most commonly used platforms for video editing today is Wondershare Filmora, known for its user-friendly interface and powerful features. If you’ve found the perfect song on YouTube and wish to use it as background music (BGM) in your Filmora project, this article will guide you through a responsible and effective way to do so.
Important Note on Copyright and Usage Rights
Before you proceed, it’s crucial to understand that many YouTube tracks are protected by copyright. Using copyrighted music in your projects without proper permission could lead to video takedowns, monetization loss, or even legal repercussions. Therefore, always look for music that is either:
- Royalty-free
- In the public domain
- Under a Creative Commons license that allows for commercial use (if applicable)
- Explicitly licensed by the artist for your specific use
There are many channels on YouTube, such as Audio Library and NCS (No Copyright Sounds), that offer free and safe-to-use music. Always read the description under the YouTube video to check the licensing terms.
Steps to Add Music from YouTube to Filmora
Once you’ve verified the legality of using a YouTube song, follow these steps to download and add it to your Filmora project:
Step 1: Download the Song from YouTube
You can’t directly import music from YouTube into Filmora, so you need to first extract the audio using a YouTube to MP3 converter. Make sure you are complying with YouTube’s terms of service.
- Find the YouTube video with the desired music.
- Copy the URL of the video.
- Use a reputable online converter such as ytmp3.cc or y2mate.com to convert the video to MP3 format.
- Download and save the audio file to your computer.
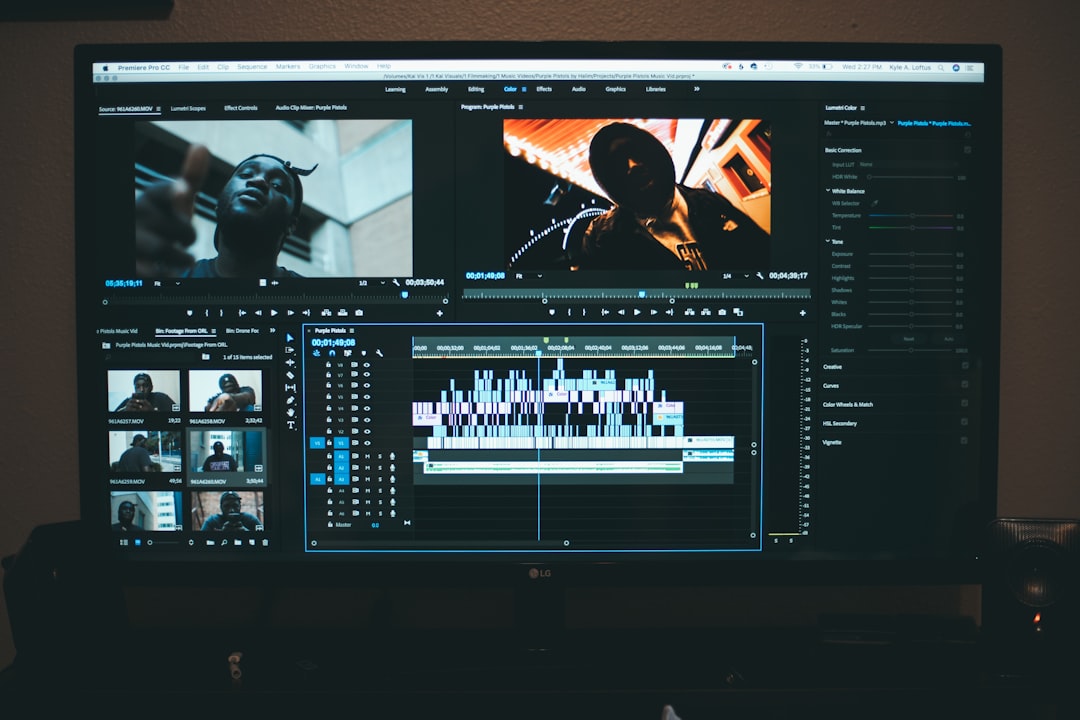
Step 2: Import the Music into Filmora
With the MP3 file ready, you can now import it into your Filmora project:
- Open your Filmora project or start a new one.
- Click on the ‘Import’ menu and choose ‘Import Media Files’.
- Locate your downloaded MP3 file and click ‘Open’.
- The music will now appear in your project media library.
Drag the music track to the audio timeline located under your video layers. You can now trim, fade, loop, or adjust the volume as needed.
Step 3: Adjust Audio Settings for Professional Quality
Good background music should complement your video, not overpower it. Here are a few tips for fine-tuning:
- Fade In/Out: Add fade-ins and fade-outs to make the transitions smoother.
- Volume Control: Lower the volume of the background music so it doesn’t clash with the dialogue or main audio.
- Sync to Visuals: Match the music beats or changes with key visuals for added impact.
- Background Music Track: Filmora often lets you lock audio tracks to avoid accidental deletion or modification.
Alternative: Use Filmora’s Built-in Music Library
If you’re unsure about licensing or want a faster solution, consider using Filmora’s built-in royalty-free music. The software includes various genres suited for different kinds of videos such as vlogs, promotional videos, and short films.
- Open the Audio tab in Filmora.
- Browse through genres like Electronic, Rock, Folk, and more.
- Click the download icon next to a track to use it.
- Drag it to your timeline just like any imported file.
This method ensures full compatibility and eliminates copyright concerns entirely.
Final Thoughts
Adding music from YouTube to Filmora can greatly enhance your video’s appeal, but it must be done responsibly to avoid copyright infringements. Always verify the music’s license and when possible, use Filmora’s internal library or other trusted royalty-free sources. With the right soundtrack, your video can go from average to outstanding.
Taking a thoughtful, legal, and creative approach ensures a smooth editing experience and protects your work in the long run.
