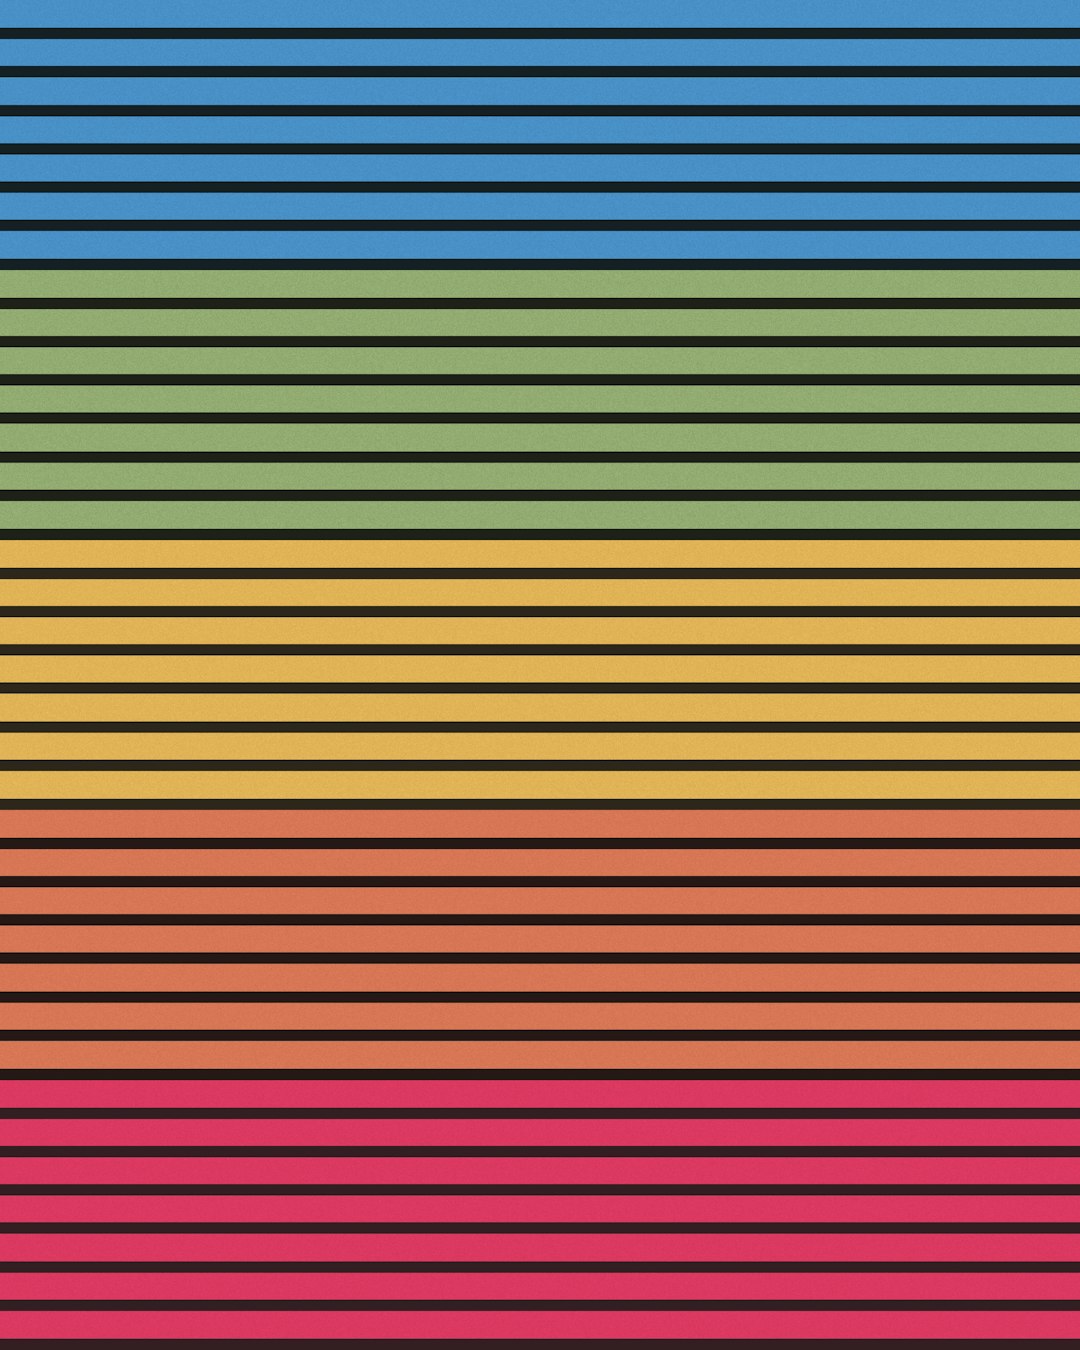
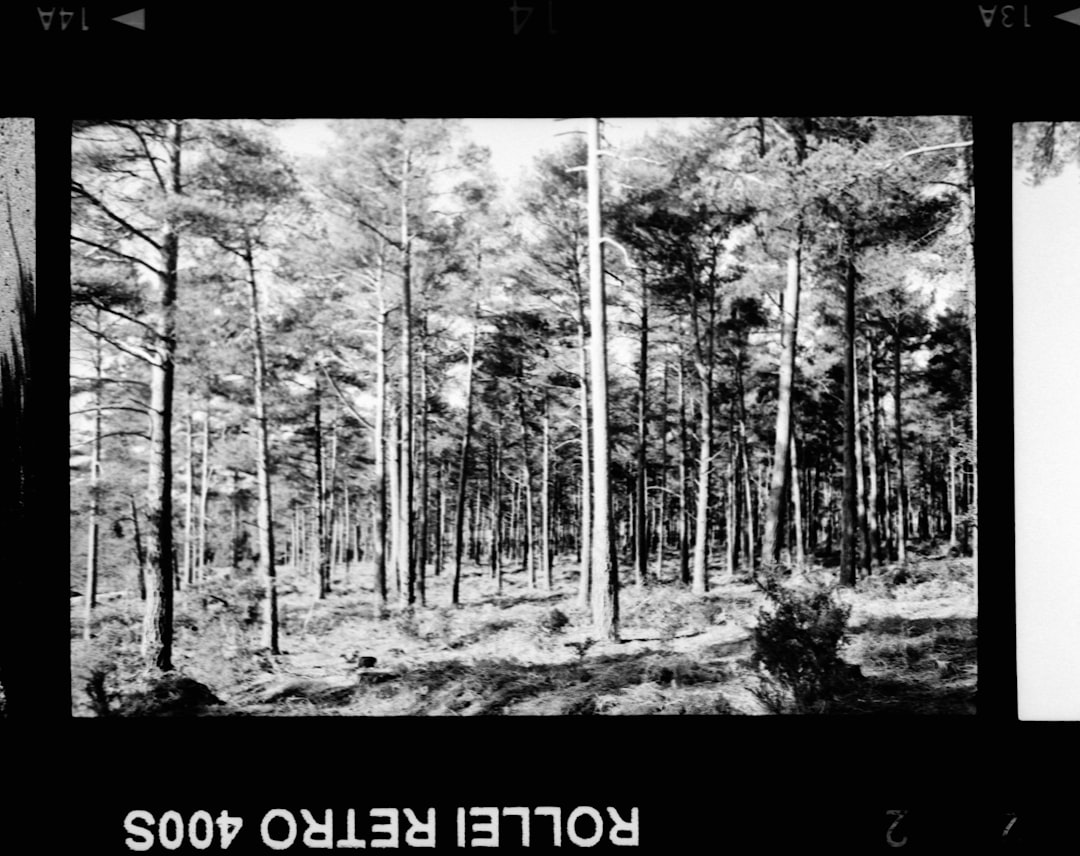
Old scanned photos can look magical. Until you notice the stripes. Those faded scan lines can run across your image like ghostly barcode marks. They ruin smooth skin tones. They make skies look dirty. And they can make a great photo look cheap. The good news? You can fix them in GIMP. It takes patience. But it is simple once you know the steps.
TLDR: Faded scan stripes are caused by scanner sensor issues or dust. In GIMP, you can remove them using tools like Heal, Clone, Blur, Frequency Separation, and Destripe filters. Zoom in, work on a duplicate layer, and correct stripes gently to avoid losing detail. For tough cases, combine multiple methods for a clean and natural result.
What Are Faded Scan Stripes?
Scan stripes are faint horizontal or vertical lines across an image. They often happen when:
- The scanner sensor is dirty.
- The scanner is old or misaligned.
- The photo was scanned at low quality.
- The lighting inside the scanner was uneven.
The stripes are usually light or slightly darker than the surrounding pixels. They may be subtle. Or very obvious.
Before you fix them, you should zoom in and study them. Are they horizontal? Vertical? Thin? Wide? This tells you which method will work best.
Step 1: Always Start with a Copy
Never edit your original layer directly. This is rule number one.
- Open your image in GIMP.
- Go to Layer → Duplicate Layer.
- Work on the copy.
This keeps your original safe. If something goes wrong, you can start again.
Method 1: Use the Destripe Filter (Fast Fix)
GIMP has a built-in filter called Destripe. It is simple. But powerful.
- Click Filters → Enhance → Destripe.
- Adjust the slider.
- Preview the result.
- Click OK when satisfied.
This works best for even and consistent stripes. If the lines are strong and isolated, you may need manual touch-up later.
Tip: Use the preview window. Small adjustments are better than big ones.
Method 2: Heal Tool for Small Stripe Areas
If the stripes appear only in certain parts, use the Heal Tool.
The Heal Tool blends texture and color. It makes changes look natural.
- Select the Heal Tool from the toolbox.
- Hold Ctrl and click a clean area to sample.
- Paint over the stripe gently.
Use a soft brush. Keep the hardness low. Work slowly.
This is perfect for portraits. Especially across faces. It keeps skin texture intact.
Method 3: Blur the Stripes (But Keep Detail)
Blurring can reduce faint lines. But too much blur destroys sharpness. So we do it smartly.
- Duplicate your layer.
- Go to Filters → Blur → Gaussian Blur.
- Blur just enough to soften the stripes.
Now comes the trick.
Add a Layer Mask. Fill it with black. Then paint with white only over the stripes.
This reveals blur only where needed. The rest of the image stays sharp.
Small brush strokes. Low opacity. Take your time.

Method 4: Clone Tool for Strong Lines
Some stripes refuse to fade. They must be replaced.
The Clone Tool copies exact pixels from one area to another.
- Select the Clone Tool.
- Ctrl-click a clean area.
- Paint over the stripe.
Use this method for:
- Background walls
- Simple skies
- Flat textures
Be careful on detailed areas like eyes or hair. Clone patterns can repeat. That looks fake.
Method 5: Frequency Separation (Advanced But Powerful)
This sounds scary. It is not. It just separates texture from color.
Scan stripes often affect color more than texture. So separating them helps a lot.
Basic Idea
- One layer holds color and tone.
- One layer holds fine details.
You blur the color layer to remove stripes. Texture stays safe on the top layer.
How to Do It in GIMP
- Duplicate your image layer twice.
- Name the bottom copy Low Frequency.
- Name the top copy High Frequency.
- Turn off the top layer.
- Apply Gaussian Blur to the Low Frequency layer.
- Turn the top layer back on.
- Apply High Pass filter to the top layer.
- Set its blend mode to Overlay or Grain Merge.
Now you can fix stripes on the blurred layer without destroying detail.
This method is amazing for:
- Old portraits
- Fashion photos
- Close-up face scans
Fixing Color Banding from Stripes
Sometimes stripes also change color slightly. You see faint yellow or blue bands.
Here is an easy fix:
- Go to Colors → Curves.
- Select individual color channels (Red, Green, Blue).
- Adjust curves slightly to balance tones.
Small moves make a big difference.
If needed, use Colors → Levels for quick contrast correction.
When Stripes Are Vertical
Most scan lines are horizontal. But sometimes they are vertical.
The fix is similar. But here is a clever trick:
- Rotate the image 90 degrees.
- Apply the Destripe filter.
- Rotate it back.
This helps because the filter often targets horizontal lines better.
Preventing Future Scan Stripes
Fixing is good. Preventing is better.
Before scanning:
- Clean scanner glass with microfiber cloth.
- Scan at higher resolution.
- Use consistent lighting settings.
- Warm up older scanners before use.
Sometimes scanning the same photo twice reduces stripe strength. You can blend both scans together in GIMP.
Pro Tip: Use Multiple Methods Together
Real-world fixes are rarely one-click.
You might:
- Start with Destripe.
- Touch up with Heal Tool.
- Refine using Frequency Separation.
- Correct color with Curves.
That is normal. Restoration is a layered process.
How to Keep the Image Natural
Over-editing is easy. Avoid it.
Watch for:
- Plastic-looking skin
- Loss of grain texture
- Obvious blurry patches
- Repeating clone patterns
Zoom out often. If it looks natural at 100% zoom, you are doing well.
Also, take breaks. Fresh eyes catch mistakes quickly.
Saving the Final Image
When finished:
- Save an XCF file first. This preserves layers.
- Export a JPEG or PNG for sharing.
Never flatten your only working file. You may want to adjust it later.
Final Thoughts
Removing faded scan stripes in GIMP is not magic. It is method. And patience.
Start simple. Use the Destripe filter. Then move to healing or cloning if needed. For serious cases, use frequency separation. Work gently. Always on duplicate layers.
Old photos deserve love. They hold memories. A clean, stripe-free image brings those memories back to life.
And the best part? You did it yourself. With free software. And a bit of skill.
Now open that old scan. Zoom in. And make those stripes disappear.
