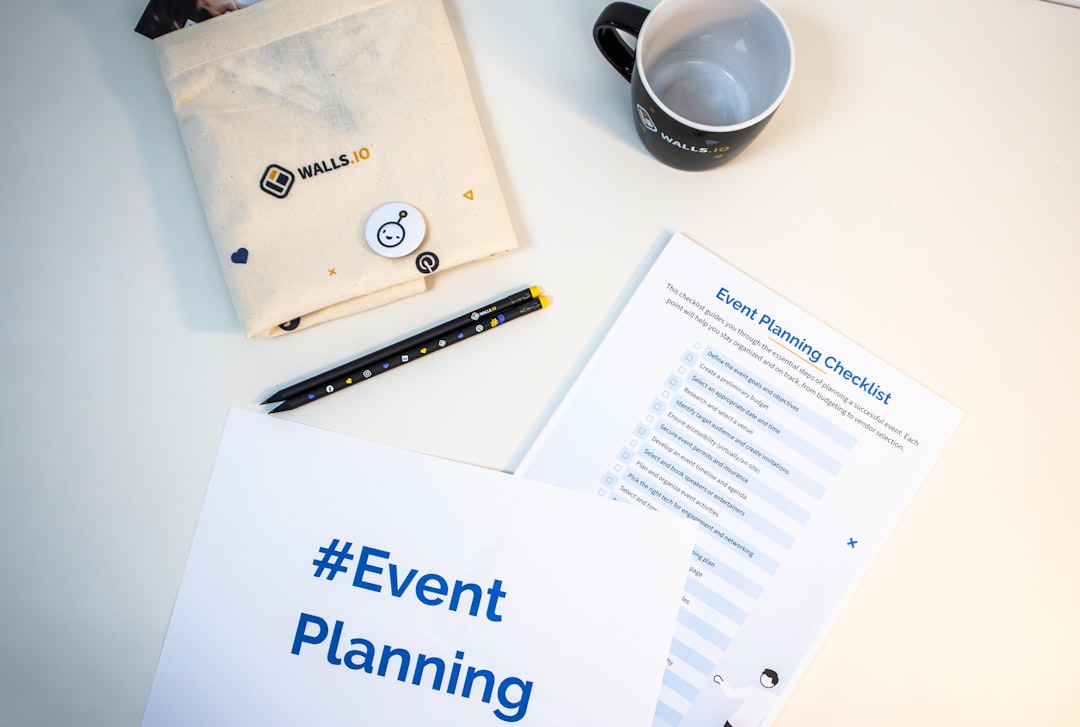
Staying organized is an essential part of maintaining both personal and professional productivity, and checklists are one of the simplest yet most efficient tools to do just that. Canva, a popular graphic design platform, offers an intuitive and highly customizable checklist maker that enables users to create stunning and functional checklists for any purpose. Whether you’re managing a project, preparing for travel, or outlining your daily goals, Canva’s features can help you design a checklist that is both practical and visually stunning. In this guide, we will cover everything you need to know to master the Canva Checklist Maker like a professional.
Why Use Canva for Checklists?
While traditional checklist tools are functional, Canva elevates the user experience by allowing complete control over the aesthetic, layout, and format. Here’s why Canva stands out:
- User-Friendly Interface: Canva is accessible to users of all skill levels.
- Custom Design Options: Hundreds of templates, fonts, and elements to choose from.
- Collaboration Tools: Work on team projects with shared access.
- Download in Various Formats: JPG, PNG, PDF, and more.
- Web and Mobile Accessibility: Use Canva on the go with your mobile device.
Getting Started With Canva Checklist Maker
To begin creating your checklist in Canva, follow these straightforward steps:
- Sign in or create an account: Visit Canva.com and log into your profile.
- Search for checklist templates: Use the search bar to find “checklist” templates or start a new project with custom dimensions.
- Choose a template: Scroll through professional designs and pick one that matches your use case. Whether it’s medical, personal, academic, or professional—there’s something for everyone.
Designing Your Checklist
Once you’ve selected a template or started from scratch, it’s time to bring your checklist to life. Design plays a crucial role in readability and engagement, so take your time customizing your checklist with these tips:
1. Choose the Right Layout
If your checklist will cover multiple categories or long-term tasks, opt for a layout that provides sectional divisions. Canva’s grid and frame tools are useful to structure the design clearly for users to follow with ease.
2. Use Strategic Typography
- Font Hierarchy: Use larger, bold fonts for headings and subheadings to guide the reader.
- Legibility: Stick to clean and easy-to-read fonts like Open Sans or Roboto, especially for task descriptions.
3. Add Icons and Graphics
Visual cues make checklists more engaging and easier to follow. For example, use checkmark icons, clocks for deadlines, or folder icons for document sections. Canva offers a wide variety of free and premium icons to choose from.
4. Utilize Color Strategically
Color enhances categorization. Assign specific colors to themes like work, personal, and errands. Be cautious not to overload the design—keep the palette consistent.
5. Insert Your Checklist Items
Start adding your actual tasks or checkpoints. You can use simple text boxes or pre-built bullet styles. Add checkboxes using shapes or icons to simulate interactive checking.

Customizing for Specific Use Cases
When it comes to applicability, the Canva Checklist Maker is flexible enough to cater to diverse needs. Here’s how to tailor checklists for different scenarios:
For Daily Productivity
- Use a minimalist design.
- Divide sections by morning, afternoon, and evening.
- Add motivational quotes or reminders.
For Project Management
- Include deadline fields and assigned team members next to tasks.
- Integrate milestone tracking features using progress bars or tick marks.
- Use color coding for urgency levels.
For Travel and Events
- Segment checklist into categories like preparation, packing, and on-site.
- Incorporate calendars and weather icons as supplementary information.
- Add emergency contact and schedule sections with interactive links.
For Educational Use
- Design for tracking study goals or research requirements.
- Use color-coded subjects or units for clarity.
- Integrate visual mnemonics or diagrams for enhanced retention.
Collaborating and Sharing
Once your checklist design is ready, Canva makes it effortless to share or co-edit your document:
- Collaborate in real time: Invite teammates by email or generate a shareable link with edit permissions.
- Export in the right format: Choose PDF for print, PNG for visuals, or a shareable digital version.
- Embed on websites: Use Canva’s embed code to display your checklist directly on a blog or internal portal.
Best Practices for Professional Checklist Design
To create checklists that stand out and serve their purpose, you should follow these professional tips:
- Keep it concise: Only include necessary items to avoid clutter.
- Ensure logical flow: Group related tasks together for better usability.
- Update regularly: Keep your checklist up-to-date, particularly for recurring projects or events.
- Ensure accessibility: Use sufficient contrast and readable font sizes for maximum accessibility.
Final Thoughts
The Canva Checklist Maker is far more than a visual design tool—it is a robust productivity aid that empowers individuals and businesses to get more done, more efficiently. By combining aesthetic appeal with operational functionality, it simplifies time management and goal tracking. From everyday to-do lists to extensive project planning templates, Canva provides an unmatched degree of flexibility, allowing you to create tools that are truly yours.
If you’re new to design, Canva makes the process simple with intuitive controls and drag-and-drop features. If you’re a seasoned professional, the depth of customization it offers makes it the perfect instrument to craft impactful checklist documents with precision.
Remember that a well-thought-out checklist can dramatically improve the outcome of your tasks and projects. With Canva, you no longer have to compromise between beauty and utility—you can have both.
